Building the
SR-71
and its Variants in 1/48 scale
by
Don Fogal
|
SR-71A Blackbird |
Part Five
Building the SR-71A Blackbird

Testors' 1/48 scale SR-71A Blackbird is available online from Squadron.com
This is the fifth instalment of a six part series on building the Lockheed SR-71 and its variants in 1/48 scale. Click here to return to Part One which includes historical background and a list of variants.
The Aircraft
 The SR-71 is actually the third aircraft in the family lineage, it was also the most numerous of any of the family, with approximately 32 being built. The SR-71 is actually the third aircraft in the family lineage, it was also the most numerous of any of the family, with approximately 32 being built.
I picked this particular aircraft, (SR-71A / 617972 / #2023 formerly known as “Charlie’s Problem”) because it is a combat veteran, having flown many missions over Viet Nam, from it’s base, Kadena Air Base, Okinawa, and being a multiple record holder.
Trans Atlantic speed record on September 1, 1974, Flown by Pilot Maj. James Sullivan and RSO Maj. Noel Widdifield, New York to London, 1 hour 56 minutes 56.4 seconds.
On September 13, 1974, London, England to Los Angeles, California, 3 hours 47 minutes 35.8 seconds.
The U.S. coast-to-coast (trans-continental) speed record, Los Angeles, California to Washington, D.C., March 6, 1990, 1 hour, 8 minutes.
Flown by Lt.Col. Ed Yielding (pilot) and Lt.Col. J.T Vida (RSO). The aircraft took off from Palmdale, California and landed at Dulles Airport, Washington D.C., where it now resides at the National Aerospace Museum. This was the last ”USAF” SR-71A flight.
At the time of her retirement she had logged a total of 2801.1 flight hours.
The Model
This is the first model I built in the series.
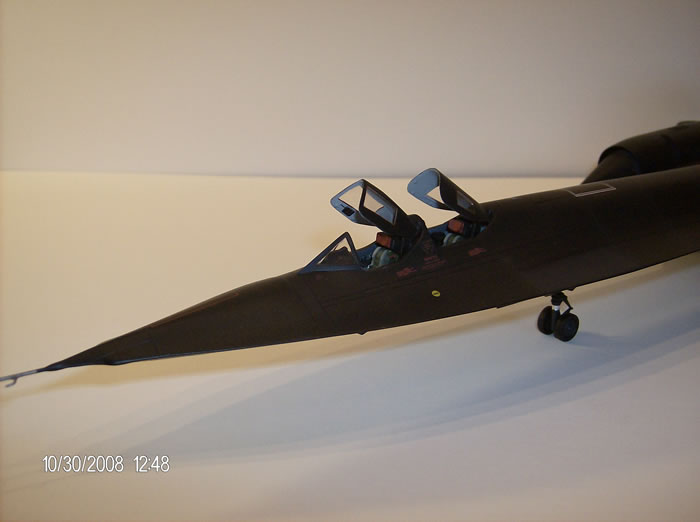
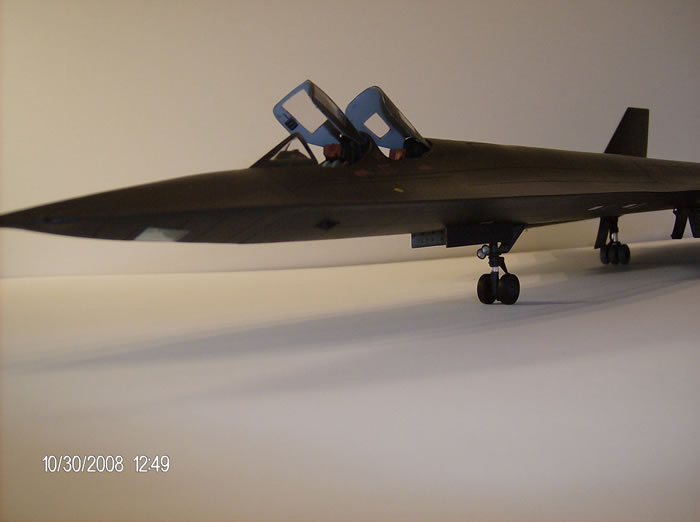
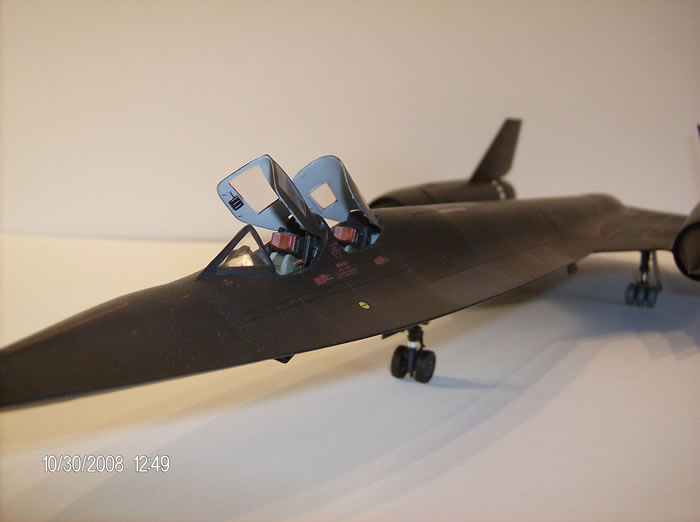
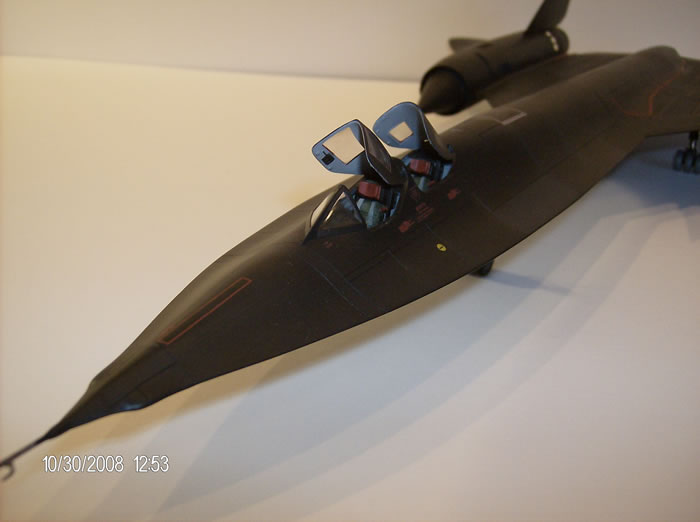
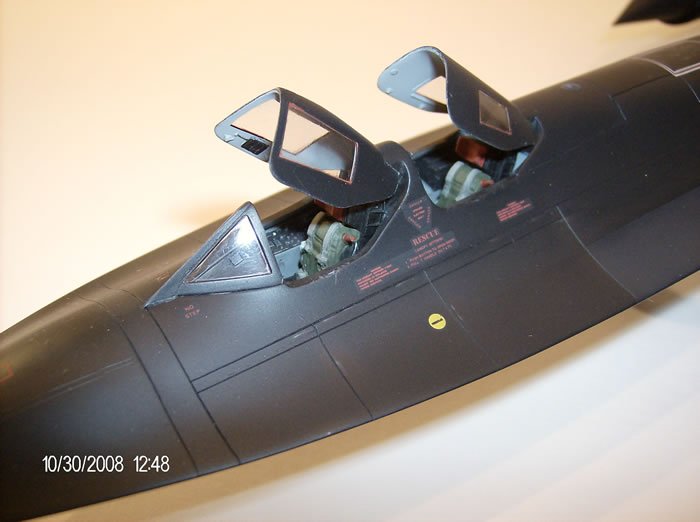
I built the SR-71A pretty much right out of the box. I added the “True Details” cockpit set (TD48478) just to liven up the rather bland and inaccurate one supplied by Testors. This is no fault on their behalf, when the kit was researched and released, there were few, if any pictures available, due to the cockpit and much of its equipment and electronics still being classified at the time.
Overall, the kit wasn’t that bad a build. Yes, I had all the problems with some of the larger parts warping, but patience and a few clamps, I overcame that problem easily. Just as much attention was paid to the seams and gaps, which are many. It almost seemed the gaps were in proportion to the size of the kit… Having read a few articles about the kit prior to my attempt, I figured by assembling the upper half first, and then gluing it to the bottom 2/3rds, I could lessen the gaps, and the sanding. I also re-enforced all the major assemblies from the inside with plastic strip. Well it worked like a champ. The seams were reduced greatly, and even though I had planned on re-scribing most of the kit, it left the panel lines, to use as guides.

Now, I know there is a raging debate about ‘Raised’ Vs. ‘Recessed’ panel lines, but truthfully, if you ever get the chance to see a real plane, look carefully you will see there are both types of panel lines, so enough about that. My kit now has what I think is a nice mix of raised and recessed panel lines.
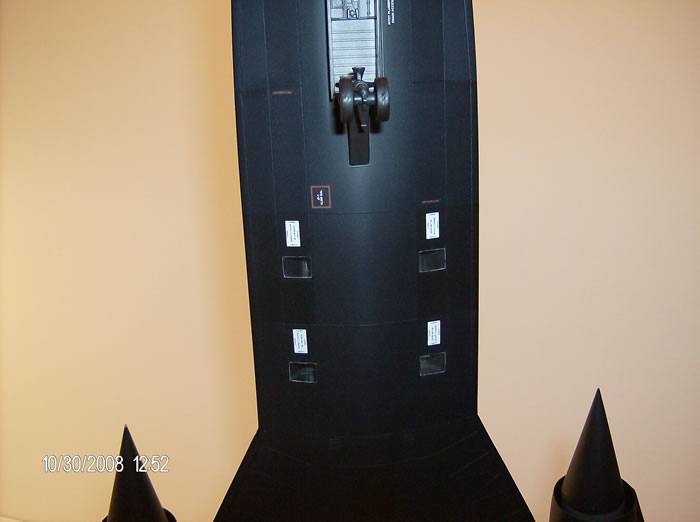
I also added a ‘Technical Objective Camera’ to the nose camera bay, and “boxed in” the camera bays in the belly. I used the front end of a ‘Pave Spike Pod’ from the Hasagawa’s weapons set, as the nose camera. Looking through the nose lens, it looks pretty close to me.
I used a few old landing gear bays from my spare parts box for the other camera bays. They are painted black, and just highlighted to show any small details, like wires and plumbing.
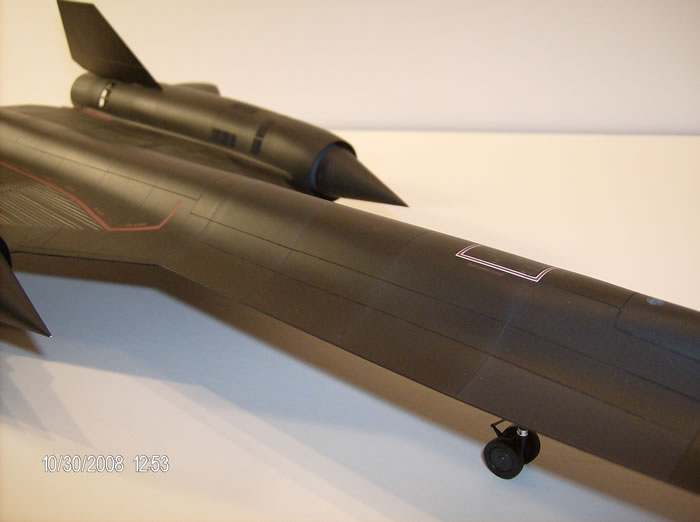
A large diameter needle was used for the Pitot tube, with a small piece of stretched spruce for the static probe.
I ‘closed’ the In-Flight refueling door. They aren’t normally opened on the ground, and I didn’t like the ‘soft’ detail inside. So, a small piece of plastic card was cut out, shaped by rolling it over the handle of my X-acto knife to provide the correct contour, and then glued in place.
There are two small antennas under the nose added to the kit, again, supplied by my spare parts box. In a lot of the pictures of later upgraded planes, these antennas can be seen. They are for one of the Passive Electronic Counter Measure Identification systems.
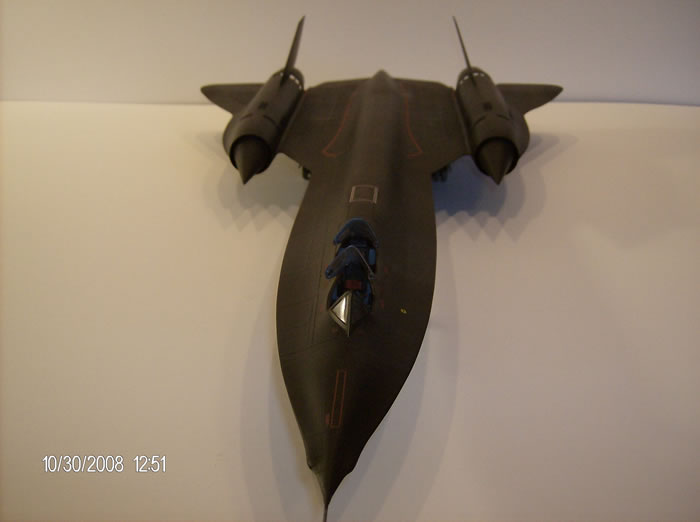
As for the finish, after all the re-scribing, and sanding, I polished the whole plane with very fine grit sand paper, and gave a primer of Light Gloss Gray. This let me see any defects, and left a nice smooth base for the Top Coat.
Now, I know that it’s argued that the Blackbird is not Black. Even the Air Force manuals say it is ‘Indigo Blue’ by F.S. Number, but any one looking at would say it is as Black as any Black they know. So just to keep all the rivet counters, and armchair modelers at bay, I mixed up a batch of what I call… you guessed it, ‘Blackbird Black’. I simply mixed in some Dark Sea Blue, to my Gloss black. Now, only under the right lighting conditions can you see just a hint of the Blue in the finish, very much like the real thing. I believe that even the exact color of the SR-71 is ‘classified’.
The extremes of high altitude, and Mach three flight wreak havoc on the aircrafts skin, and paint. All the constant heating and cooling tend to change the color of the aircraft depending on the material underneath, and the different temperatures reached. So, I painted a few panels straight Gloss Black, and a couple more Flat Black, and some more with a very Dark Gray, to break up the monotone look that an all Black aircraft has.
The particular aircraft I picked was during the aircraft’s twilight years. At the time the new lo-vis Red markings were being used.
After the decals were added, I sprayed the whole plane down with Testors Dullcote Lacquer. Now all the different panels look like they should, with just slight variations in the paint. A little weathering was done using pastels, and powdered graphite, and the main building was complete. I was really striving for “subtlety’ in the over all weathered look of the plane.
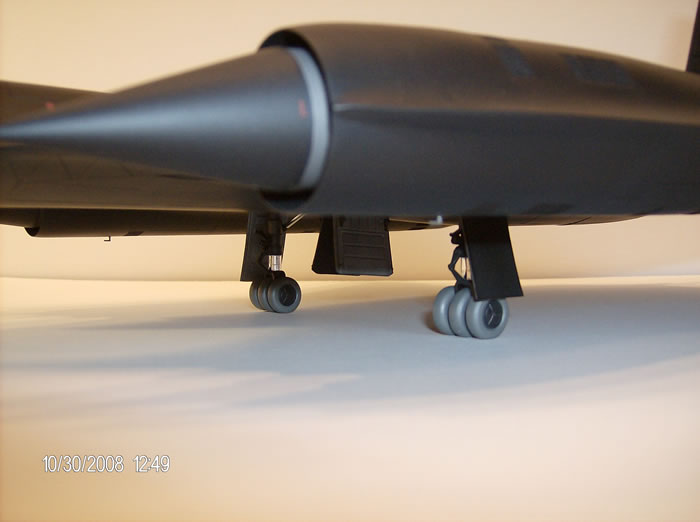
Some of the other modifications I made to the kit were to the nose landing gear wheels. They look way to large, so, I sanded them down in thickness, and used a file to make them smaller in diameter.
As for the main landing gear tires, I really didn’t like the way they looked painted aluminum. (As per the instructions) The tires on real Blackbirds are impregnated with aluminum dust to dissipate heat better. So, I painted them light gray, and dry brushed a little aluminum on them. I think the scale effect is much better looking.
So, that’s my Blackbird. I have to say, it has to be one of the sexiest looking planes ever built. She was so far ahead of her time, and has never been equaled. Just looking at her long, slender, curvy lines, and not knowing all she could do just added to her mystique.
Model, Images and
Text Copyright © 2009 by Don Fogal
Page Created 2 March, 2009
Last Updated
3 March, 2009
Back to HyperScale
Main Page |
 Home
| What's New |
Features |
Gallery |
Reviews |
Reference |
Forum |
Search
Home
| What's New |
Features |
Gallery |
Reviews |
Reference |
Forum |
Search