Canopy Masking
Tips and Tricks
by John Miller

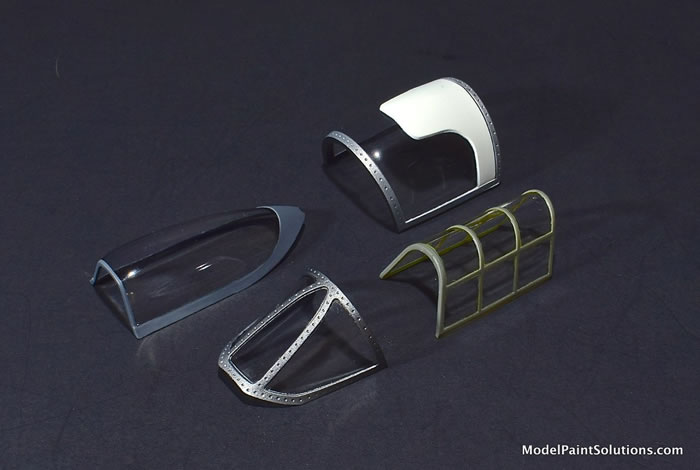
The focal point of the average aircraft build is often the canopy and cockpit. There’s a lot going on in there and the eyes just seem to be drawn to it. That being the case, extra effort to ensure the canopy “glass” is as clear as possible and the framing is painted with crisp, hard lines will be time well spent. Since I’m not naturally gifted with a blade (carving anything is beyond my skills) I’ve had to develop techniques for masking canopies that don’t require putting an X-Acto (or similar blade) directly onto clear plastic. In short, this technique utilizes liquid mask, pre-cut pieces of Tamiya tape, and die-cut circles and squares (made of Tamiya-tape-like material). These are placed and burnished onto the clear portions of the canopy obviating the need to cut the tape after it’s applied and risk damaging the clear plastic. Although I prefer to use scissors or other tricks that keep the cutting tools away from clear parts, these techniques can be performed using a blade and an example of such is provided in Part 3.
Please bear in mind that what follows are only suggestions based on my experience and skills (or lack thereof). There are as many good canopy masking techniques out there as there are modelers masking canopies. With that in mind, take whatever you find useful from the following suggestions, combine it with your own tools and experience, and develop a technique that best suites you.
And, have a good time doing it :)
One type of tool this technique requires is a good assortment of photo-etch cutting/scribing stencils.
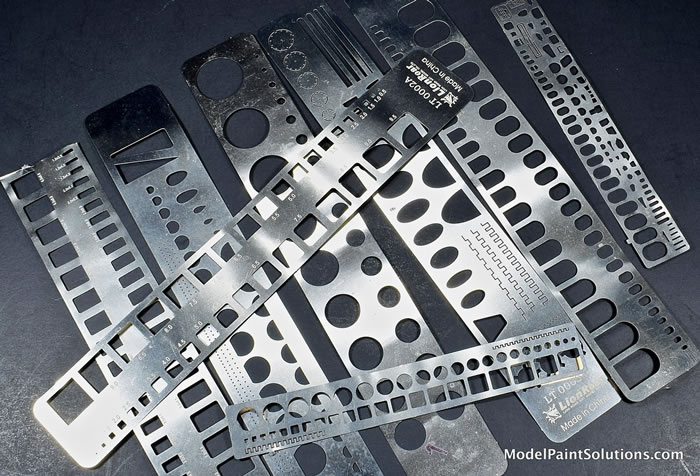
Stencils with a good assortment of circles, squares, and ovals are particularly handy. In addition to stencils, a basic set of hand tools including tweezers, an embossing tool, and toothpicks will be required.
A tempered glass work surface on which to cut masking materials is good to have as are good light and magnification.
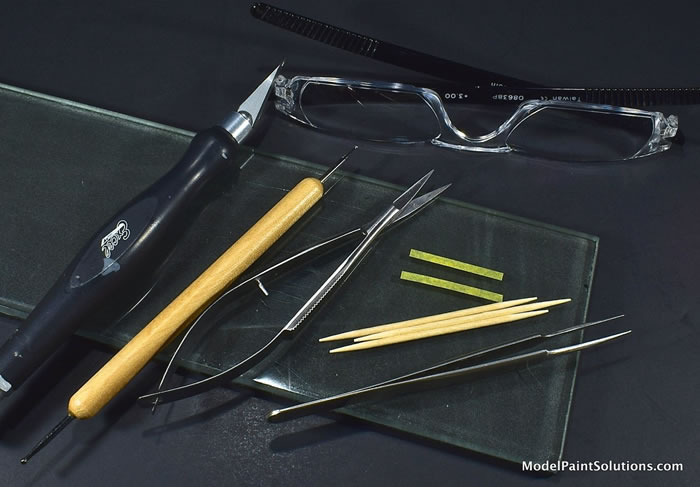
For blades, a comfortable handle with a stock of new X-Acto blades as well as a surgical scalpel with #15 (rounded) blade will come in handy. In addition, a tool that’s not seen that often but very handy for this technique are mini-scissors, both straight blade (pictured) and curved blade completes the required hardware (see Tools and Materials below).
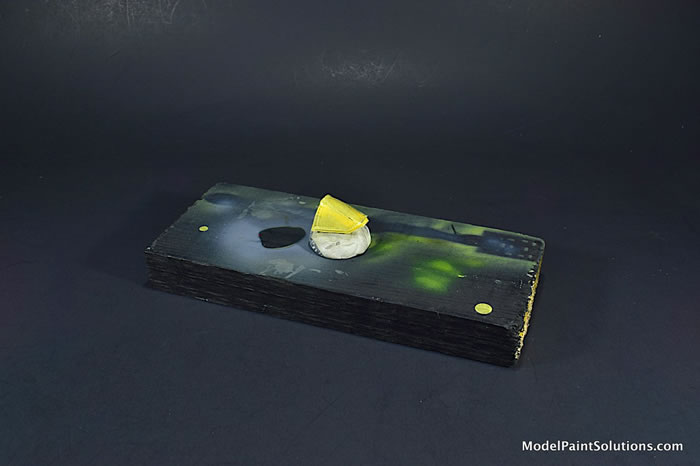
Prior to beginning the masking process, I affix the canopy to a piece of wood (building board) using White Removable Mounting Putty (Scotch Brand; see Tools and Materials below). The inner aspects of the canopy are first protected from the putty with a couple pieces of overlapping Tamiya tape. Immobilizing the canopy in this way frees both hands to arrange and apply masks. For me, this little trick is key to making the process easy and as trouble-free as possible. With the canopy immobilized, a piece of masking tape can be held with tweezers in the right hand while the tape is burnished in place with an embossing tool held in the left (or vice versa).
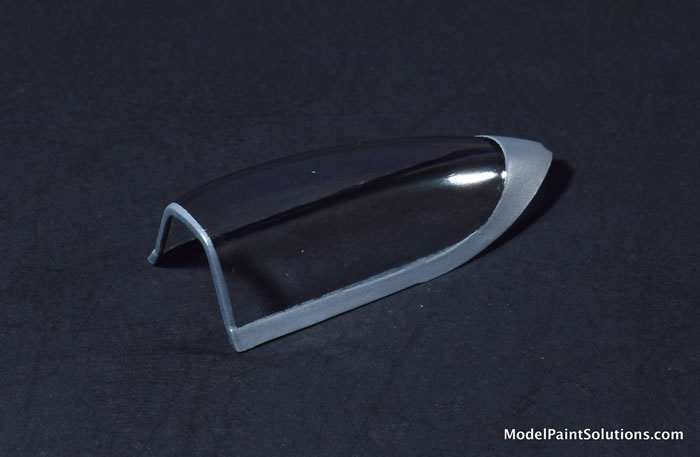
Example: 1/48 Airfix Sea Fury
Bubble canopies such as that on the Airfix 1/48th Hawker Sea Fury are probably the easiest type canopy to mask.
When gently nudged in place with tweezers and a toothpick, a single, thin strip of masking tape, such as this 0.70mm wide piece of Aizu tape, will easily conform to gentle curves. Once applied, the strips were burnished in place with a burnishing tool and toothpick. Its preferable to use a single piece of tape whenever possible versus multiple, overlapping pieces. A single length of tape will present fewer areas where wet paint can wick under during painting.
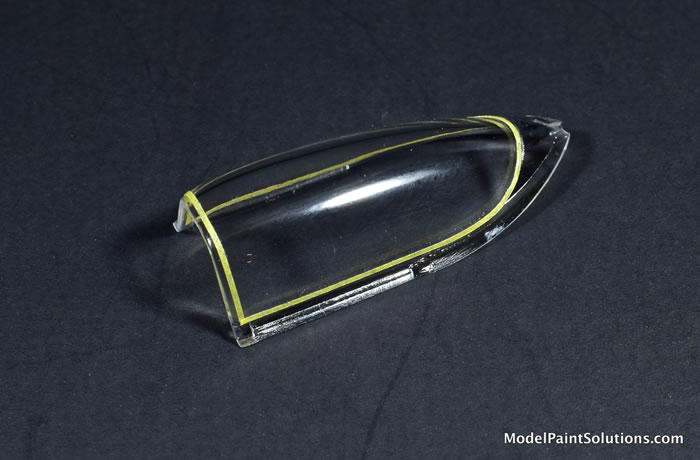
Special attention was paid to the areas where the vertical and horizontal tapes overlap (the 90-degree corners) to ensure good, paint-tight seals.
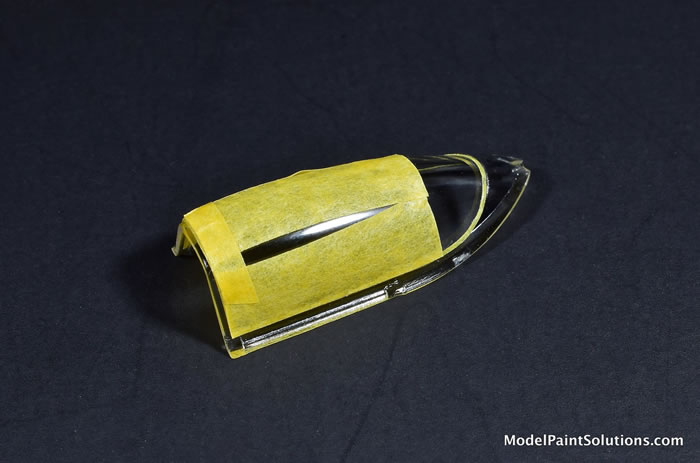
With the periphery of the canopy masked you can take the very easy route of simply painting the entire clear portion with Mr. Masking Sol R by Mr. Hobby. “Painting” larger scale canopies with Mr. Masking Sol R often requires multiple coats and care must be taken to ensure a sufficiently thick coat is applied (and stays) on the apex of the canopy while not too thick a coat forms at the base. Wet Masking Sol R tends to obey the laws of gravity.
For those who don’t use liquid masks or prefer the old fashioned way (I often count myself in the latter group), the Sea Fury canopy can be easily covered with strips of masking tape combined with circular and semi-circular pieces of tape cut using an assortment of photo-etch stencils as guides.
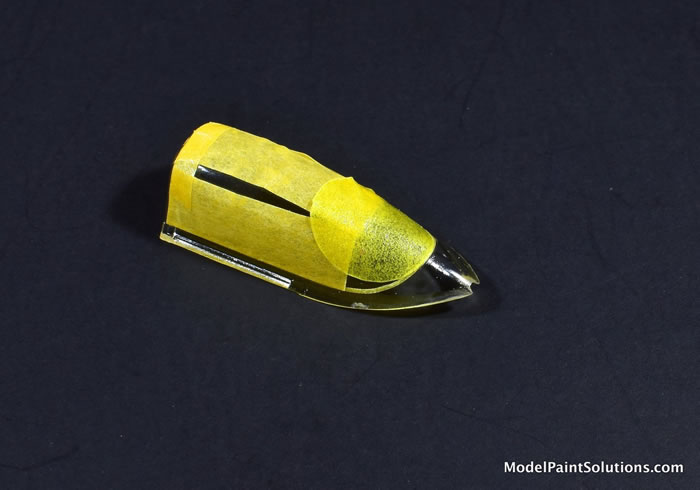
First, strips of masking tape were applied flush to the 0.70mm strip on the sides and top of the canopy. These strips were cut so as to end where the rear potion of the canopy framing begins to curve into a semi-circle.
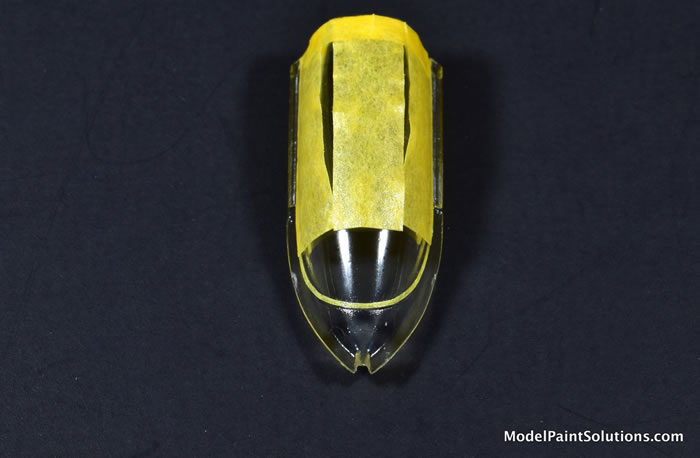
To mask the rear, circular portion of the canopy, a circle of the appropriate size was identified on a PE stencil.
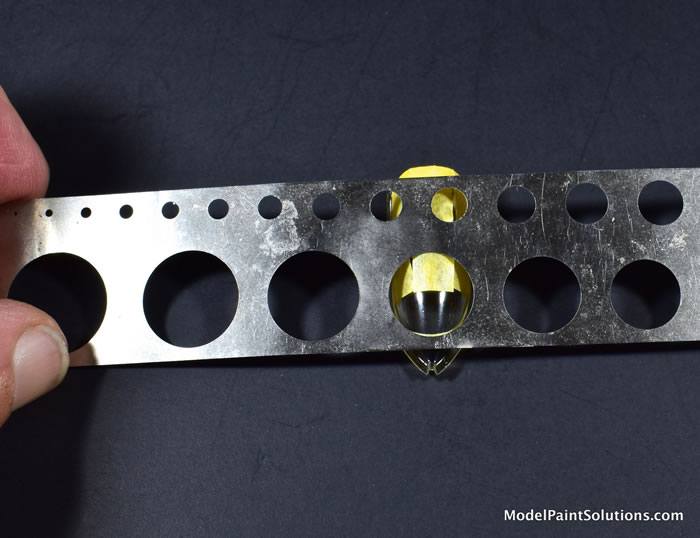
A circle of masking tape, cut with the previously identified guide, matched the contours at the rear of the canopy nearly perfectly and was burnished in place (Pics 5 and 6).
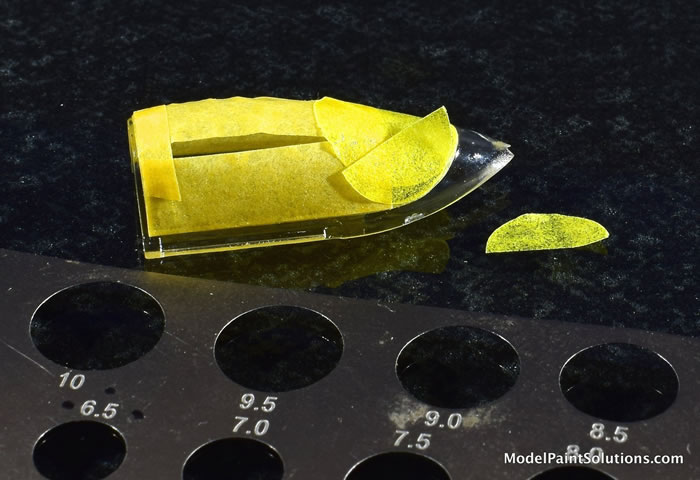
The same approach was used to identify the appropriately sized circular guide from which to cut half-circles for the unmasked areas on each side of the canopy.
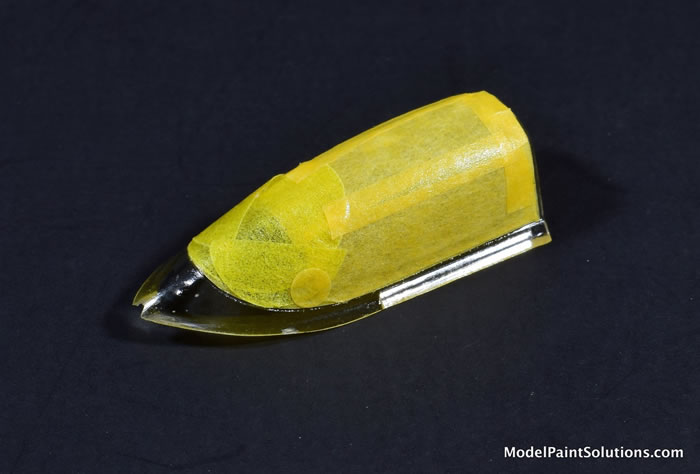
Being a modeler, you know that sometimes things don’t quite line up perfectly. No big deal as small, unmasked gaps are easily covered with small circles of masking tape. In this case the small dot of masking material was obtained from a sheet of die-cut circles and squares by HIQ Parts that are very handy for smaller applications.

After the addition of the two last strips of masking tape, all the tapes were burnished thoroughly to ensure paint-tight seals where tapes overlapped.
For painting, the inner aspect of the canopy was protected by strips of masking tape while the canopy was immobilized onto a building board with white putty. The canopy was sprayed with Mission Black Primer diluted to 50% with Mission Thinner. This was shot at ~12psi with an H-S Evolution fitted with a 0.20mm nozzle.

When this was dry, the canopy was sprayed with LifeColor Extra Dark Sea Gray diluted to 30% Paint with 60% LifeColor Thinner and 10% Future (or Pledge with Future Shine). This was applied at ~10psi with the same Evolution/0.20mm nozzle. After ~30 minutes of drying time, the tapes were carefully removed.
Now I just need to finish my Airfix Sea Fury so I have something to put under this canopy:)
Cutting masks of varying shapes on a glass work surface and then transferring those masks onto the canopy obviates the need to cut the masks in situ—after they’re applied to clear plastic. This approach greatly reduces the chances of scraping or nicking a canopy; often the focal point of model-viewing eyes. In addition, immobilizing the canopy onto a building board thereby freeing both hands to place and arrange pre-cut masks makes the task of masking a canopy much easier. However, having a good assortment of photo-etch scribing/cutting guides is key. Guides with circles, squares, and ovals are very handy for producing pre-cut masks of the appropriate shape and size. Fortunately, numerous manufactures including Eduard, Mr. Hobby, and Lion Roar make quality PE guides that are ideal for the job.
Cheers!
—John
Tools and Materials
Scotch (3M) White Removable Mounting Putty
Tamiya Tape
Aizu Micron Masking Tapes
Mr. Hobby Mr. Masking Sol R
HIQ Circle/Square Masks
Straight-Edged Mini Scissors
Curved-Edge Mini Scissors
For more on this review visit Modelpaintsolutions.com
Text and Images Copyright © 2020 by Model Paint Solutions
Page Created 30 December, 2020
Last updated
31 December, 2020
Back to HyperScale Main Page
Back to Reviews Page

|
 Home
| What's New |
Features |
Gallery |
Reviews |
Reference |
Forum |
Search
Home
| What's New |
Features |
Gallery |
Reviews |
Reference |
Forum |
Search