Gloster E28/39 Pioneer
Expert Set
Clear Prop, 1/72 scale
S
u m m a r y : |
Description and Item No.: |
Clear Prop Kit No. CP72001 - Gloster E28/39 Pioneer Expert Set |
Contents and Media: |
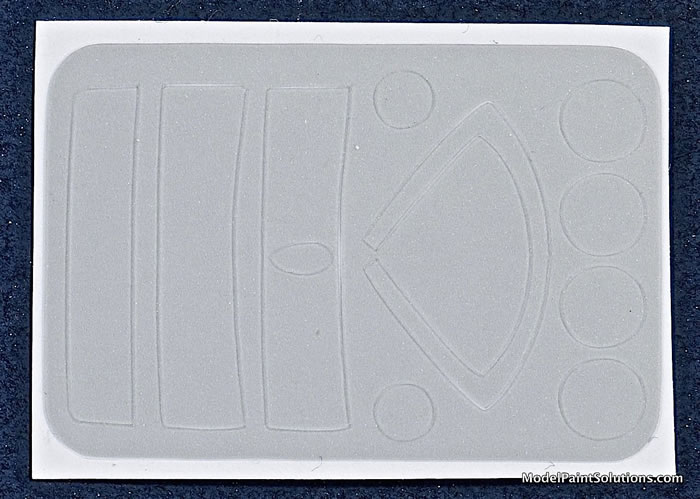
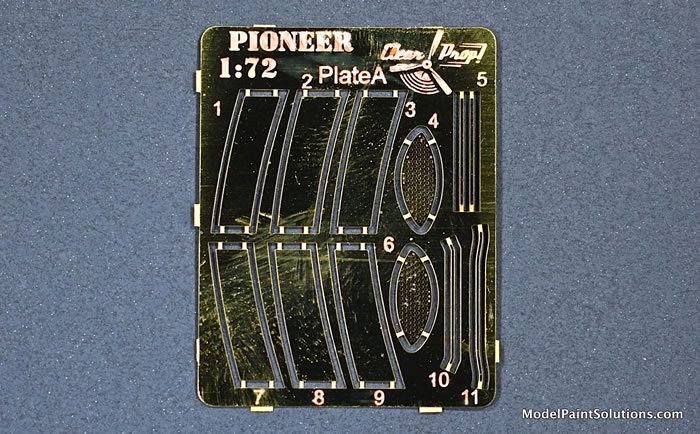
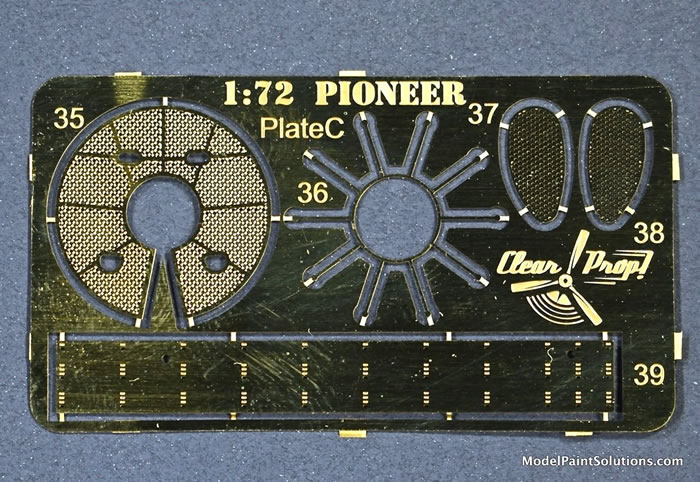
87 parts in grey styrene, 2 in clear, 18 in resin, 3 PE frets, brass pitot tube, film instrument panel, masks, and two decal sheets with markings for 4 airframes. |
Price: |
£29.99 EU Price (£24.99 Export Price) plus shipping available online from Hannants |
Scale: |
1/72 |
Review Type: |
First Look |
Advantages: |
Very detailed, beautifully molded, Gloster E28/39 with amazing resin and PE parts. |
Disadvantages: |
The number of parts (styrene, resin, and PE) is high suggesting a challenging build for those inexperienced with multi-media kits. |
Recommendation: |
Clearly this is the best Gloster E28/39 in the scale, but it is a complex multimedia kit of a tiny aircraft so take care in construction. I ain’t no expert, so I’ll probably leave out many of the tiny PE parts and, as stated above, my engine will stand beside the model. Maybe I’m not the only one, as Clear Prop have a starter set version coming soon that will consist of just the plastic parts and a small photo etch fret.odel looks great in the box. Now the only remaining question is, how does it build?. |
Reviewed by Jim Bates
The Gloster E28/39 was the first allied jet to take to the skies, on May 15, 1941, after both Caproni of Italy and Heinkel of Germany had previously flown jet aircraft. The E28/39 was the product of an Air Ministry specification for an airframe to test the jet engine created by Sir Frank Whittle and his firm Power Jets Ltd. Whittle had been testing jet engines since 1937, but it wasn’t until 1939 that Gloster came on board to develop the E29/39. Whittle’s Power Jets W.1A centrifugal flow turbojet engine required a rather tubby fuselage and the E28/39 was rather basic; it had no radio or armament.
The tricycle landing gear was a rather novel feature, as two of three jets to beat it into the air were taildraggers (and initially, at least, the Me 262). Two E28/39s were built and they contributed substantially to the development of the jet engine and the jet fighter. Sadly, the second aircraft, W4046/G, had a rather short life, as it was destroyed in an accident only five months after its first flight. The prototype, W4041/G, survived its testing regime and this historic aircraft can be found on display at the Science Museum in London. Oddly, the aircraft is often referred to as the Gloster Whittle and/or the Gloster Pioneer, though these appear to be unofficial names.
The E28/39 in 1/72 scale
To the best of my knowledge there have been three previous injected plastic Gloster Pioneers in 1/72. The first was a part of the Frog Trail Blazers series. The Frog kit has an over-scale fuselage (and if I remember correctly, under-scale wings) and certainly is a product of its times being first issued in the 1960s. Much later, Pavla issued a E28/39 which combined short run plastic and resin details. As with most of the Pavla kits I’ve seen, the plastic was very short run and the resin was excellent. High Planes also issued a short run Gloster, but their kits require substantial experience and much whittling.
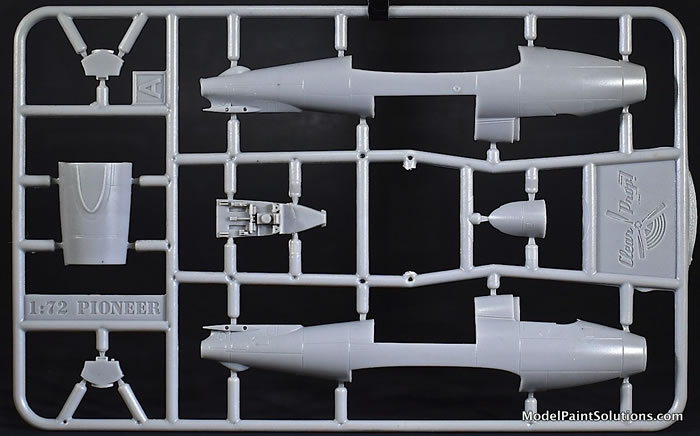
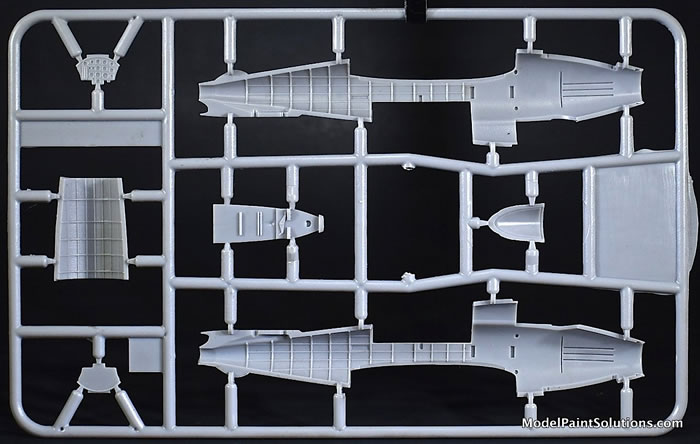
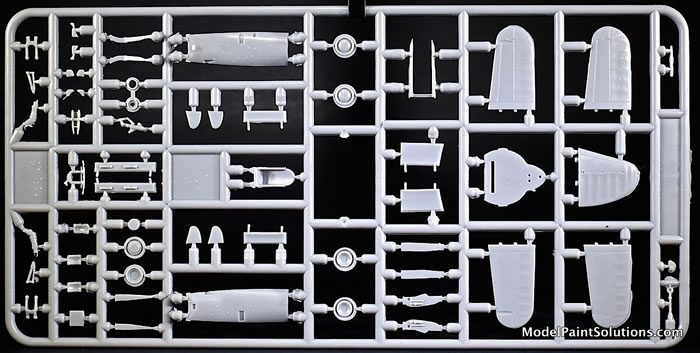
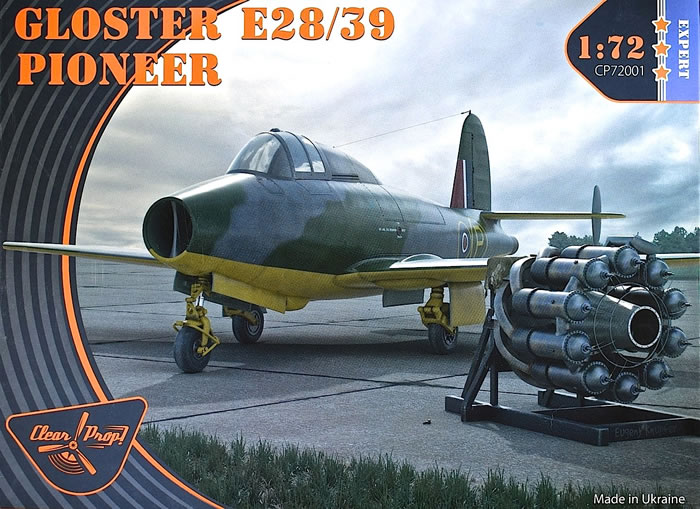
Clear Prop appeared out of nowhere with its first kit of the Gloster E.28/39. (I will refrain from questioning why a company named Clear Prop would issue a jet as its first kit…). Like ICM kits, a nicely illustrated cover is removed from the stout, plain, white box that then opens to reveal the kit. The contents of the box consist of a re-sealable big of four sprues of mid grey plastic, a bag with one clear sprue, a bag of dark grey resin parts, and two bags with three photo etch frets, a mask sheet, a brass pitot tube, and an instrument panel film. Also included is a color instruction sheet and two decal sheets.
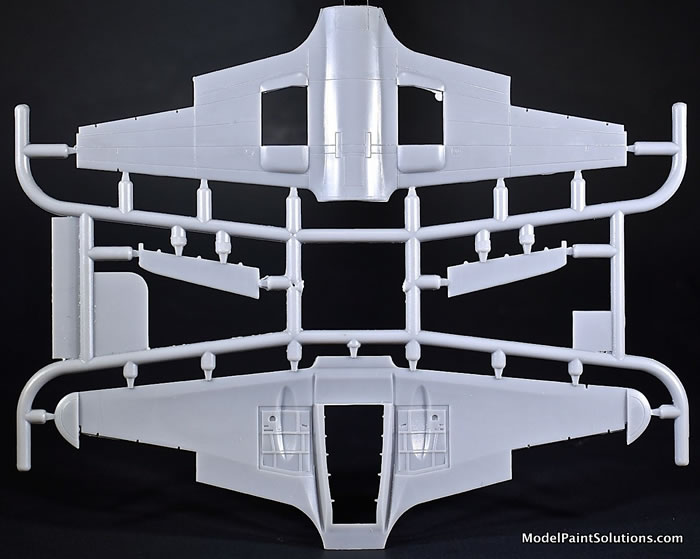
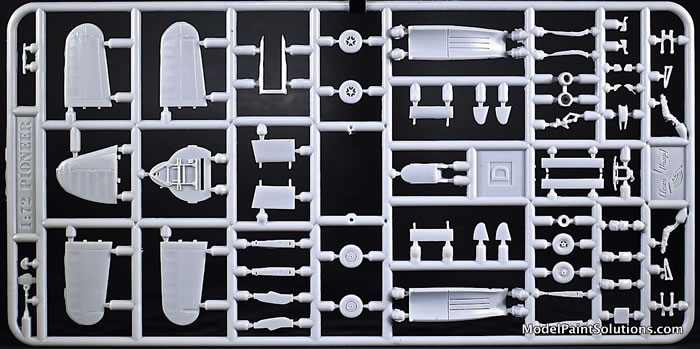
It used to be easy to determine what is a short run kit from those created by more durable molds. I have no idea what kind of mold was used for this kit, but the moldings are impressive. The mostly flash free parts have impressively fine recessed panel lines and well rendered fabric flying surface. Detail is well done, and only two molding flaws were observed. There is a sink mark in the nose gear well, and the control column does have some flash that may be difficult to remove without damaging the finely molded part.
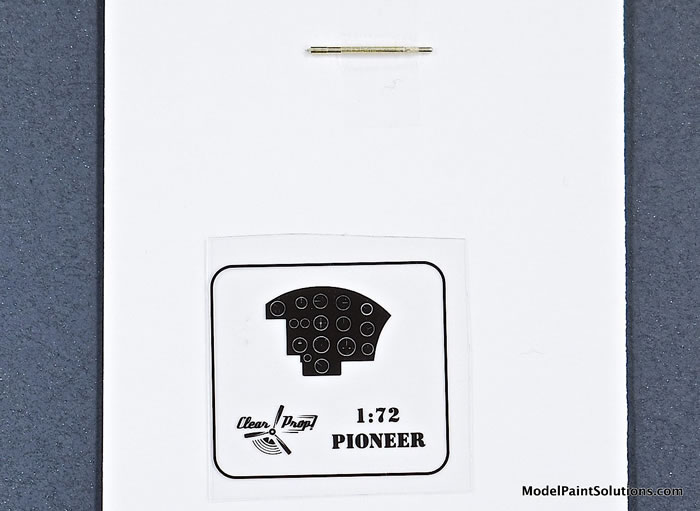
The cockpit includes a two-part seat with photo-etched belts and the option of a decal or PE/film instrument panel combo.
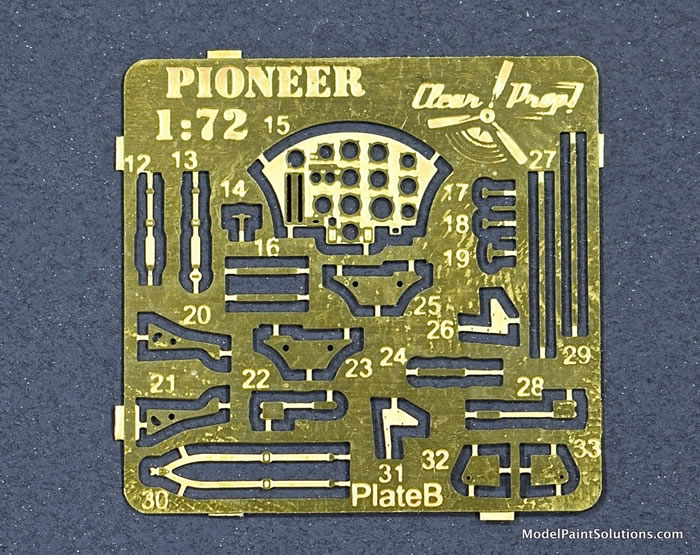
One item that raised my eyebrows was the photo-etch guide vanes in the intake.
I worry that these will interfere with fit, and gluing such small PE parts could be a source of frustration.
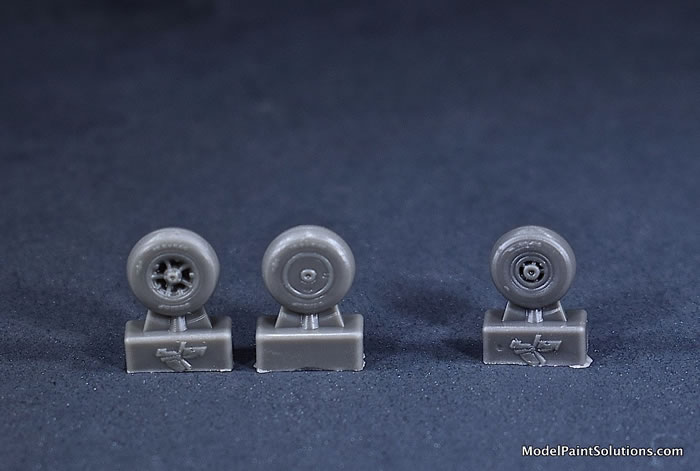
While the rudder and elevators are molded in place, the ailerons are separate. The landing gear are finely molded, but each gear leg consists of multiple plastic parts, along with photo etch and the choice of two part plastic or resin wheels. In 1/72 I much prefer one-piece landing gear. The main landing gear wells are constructed from four plastic and three photo-etch parts.
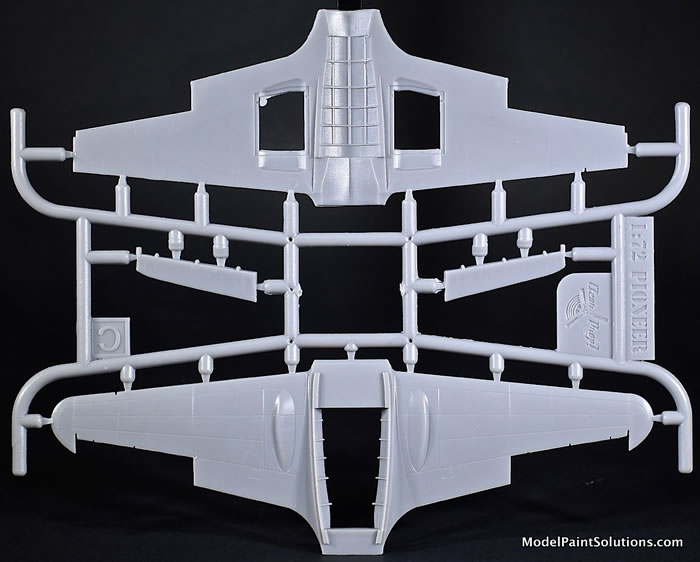
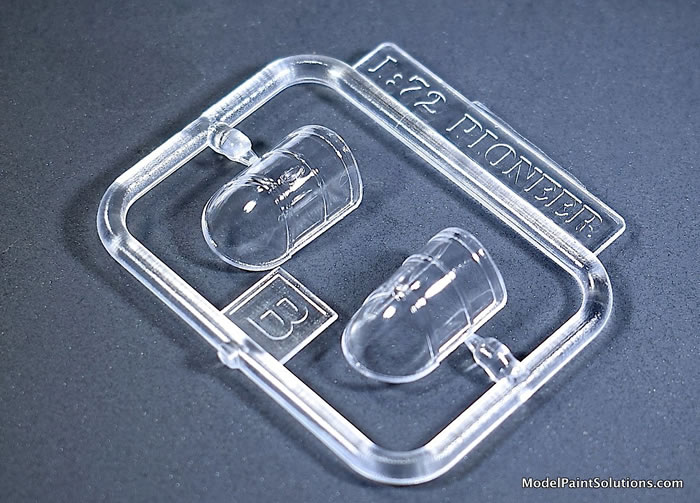
The two canopy options, one with, and one without, a rearview mirror bulge, are not quite perfectly clear with some distortion evident.
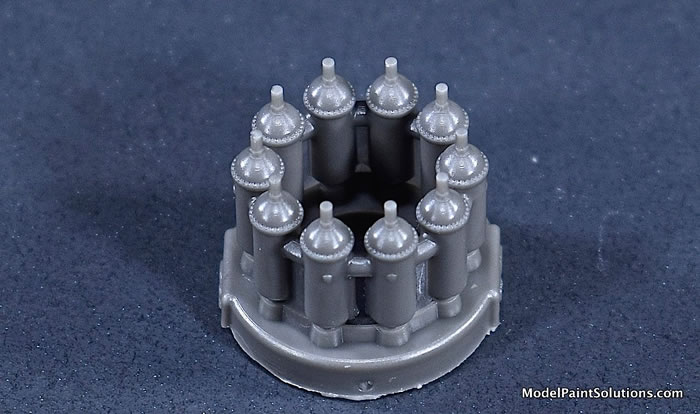
Most of the resin parts, and a large portion of the photo etch, are combined to create a tiny, but beautiful, Power Jets W.1 engine.
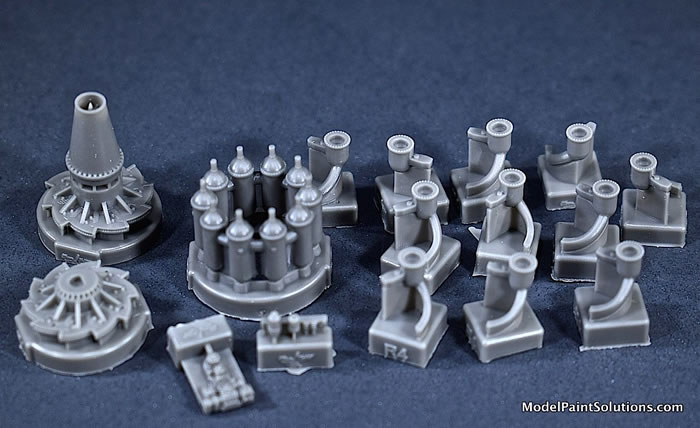
The engine can be placed into the Gloster, or displayed beside it on a test stand. It would be a shame to hide the engine in the fuselage, so I’m sure mine will end up on the stand!
Resin wheels are included too.
The inclusion of a brass pitot tube in the box is a nice bonus that I wish more manufacturers would adopt. (I’d be happy to trade all the PE for a brass pitot.)
Markings
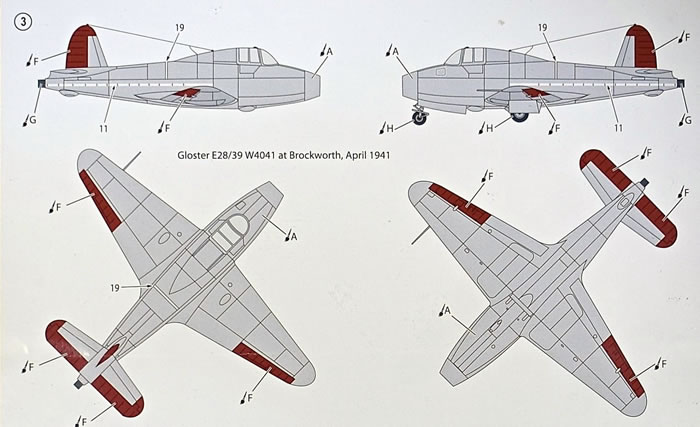
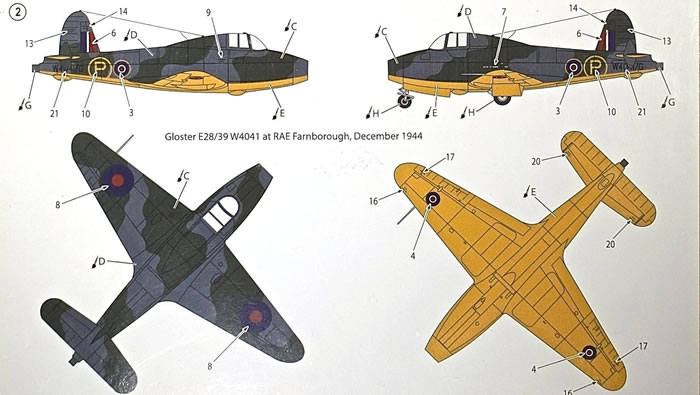
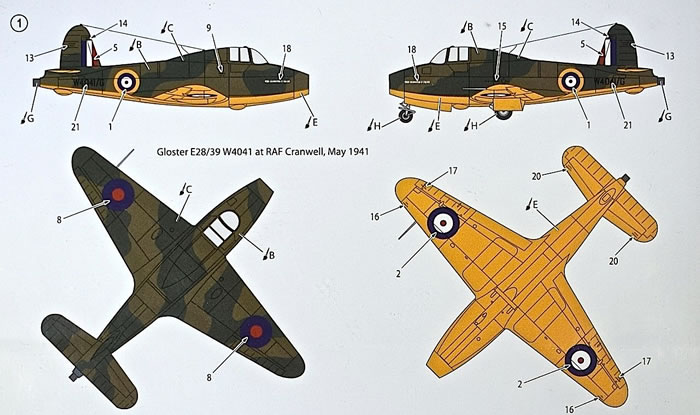
Decals are provided to build all of the schemes worn by the Gloster Pioneer.
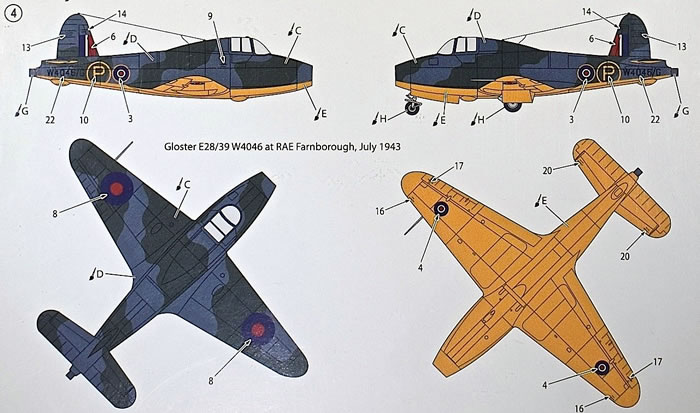
The original prototype first flew in natural metal with red dope control surfaces. It later wore the Temperate Land Scheme over Dark Green and Dark Earth over yellow and finally in the Day Fighter scheme of Dark Green and Ocean Grey over yellow. W4046/G only carried the Day Fighter scheme during its short life.
Both decal sheets are glossy and very colorful, and for some reason four prototype “P” markings are on the sheets.
The instruction sheet looks reasonably clear, but I wish the colour painting diagrams were a tad larger.
This is an impressive box of parts; though rumor has it that it is a more difficult build than it appears. Clearly this is the best Gloster E28/39 in the scale, but it is a complex multimedia kit of a tiny aircraft so take care in construction. I ain’t no expert, so I’ll probably leave out many of the tiny PE parts and, as stated above, my engine will stand beside the model. Maybe I’m not the only one, as Clear Prop have a starter set version coming soon that will consist of just the plastic parts and a small photo etch fret.
Jim Bates
Thanks to John Miller for taking the photos used in this article.
For more on this review visit Modelpaintsolutions.com.
Text Copyright © 2020 by Jim Bates
Images Copyright © 2020 by John Miller
Page Created 3 July, 2020
Last updated
3 July, 2020
Back to HyperScale Main Page
Back to Reviews Page

|
 Home
| What's New |
Features |
Gallery |
Reviews |
Reference |
Forum |
Search
Home
| What's New |
Features |
Gallery |
Reviews |
Reference |
Forum |
Search