Tamiya 1/32 scale
A6M2b Type 21 Zero
by Blair Stewart
|
Mitsubishi A6M2b Type 21 Zero |

Although its first operational use was in China in July 1940, The Japanese Zero made its most heralded combat debut during the December 7, 1941 surprise attack on Pearl Harbor. The first attack wave of 183 aircraft included 43 Mitsubishi A6m2 Type 21 Zero fighters, whose targets were Oahu air bases (Wheeler Field, Hickam Field, Barber’s Point, Kaneohe, and aircraft at Ford Island). The second wave of 171 aircraft included 36 Zeros designated to strafe those same aircraft targets.
Over the next months, the Zero would gain a fearsome reputation as an aerial combat platform, primarily due to its excellent maneuverability and great firepower. Early on the Zero proved superior to most allied fighters, and it dominated air-to-air combat in the Pacific until allied pilots developed tactics to cope with the Zero. Rather than engage Zeros in a traditional, turning dogfight, allied pilots learned to dive down on the Zero from above in a high-speed pass, quickly fire on the Zero, and then climb quickly back up to altitude.
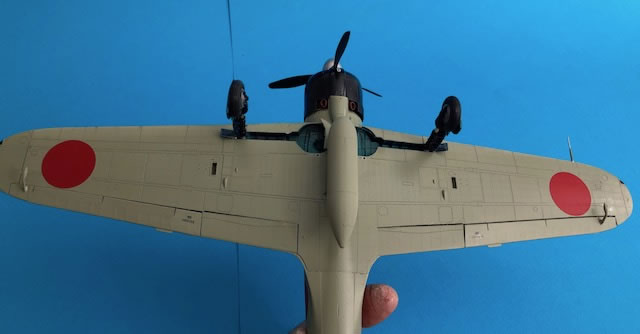
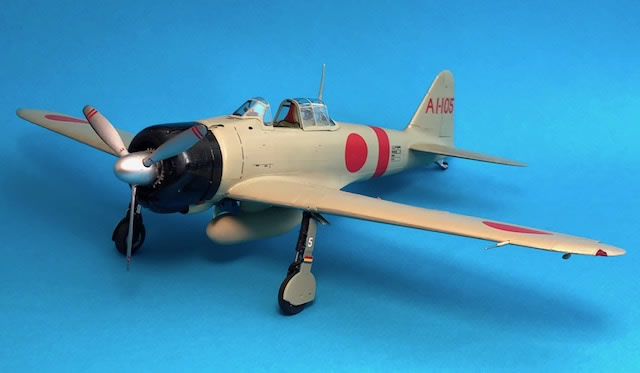
The carrier-borne Type 21 had folding wingtips that allowed it to fit on aircraft carrier decks. It’s tremendous range (over 2600 kilometers or 1600 miles) was another outstanding feature. When later Zero models appeared, Mitsubishi had produced 740 Type 21s, while Nakajima had built another 800. The Japanese built two other versions of the Type 21: the A6M2-N Rufe floatplane; and the A6M2-K two-seat trainer
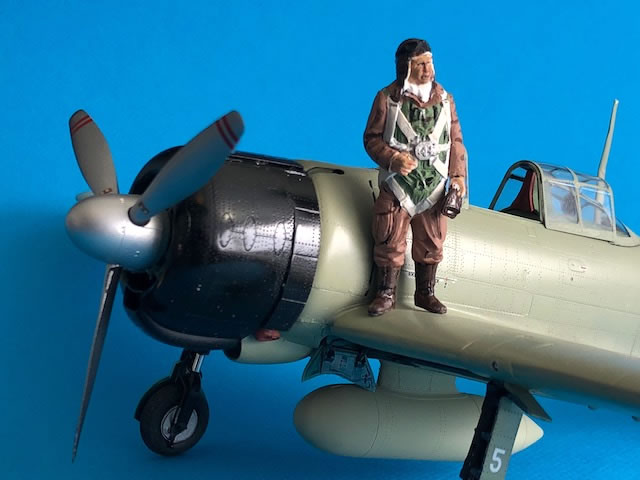
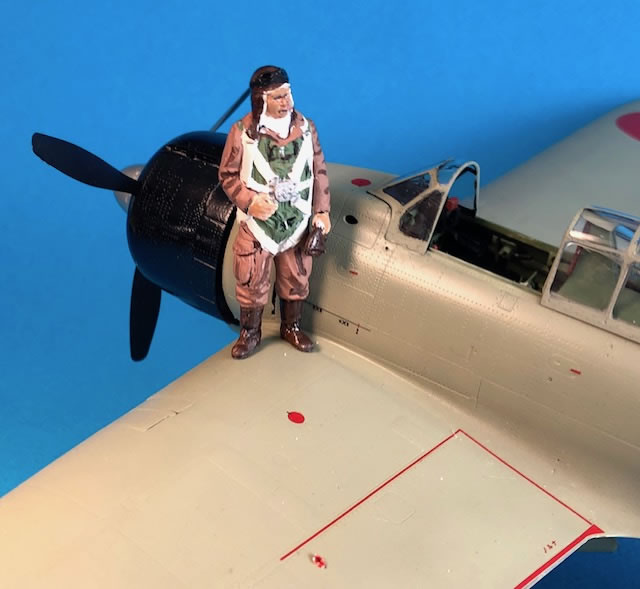
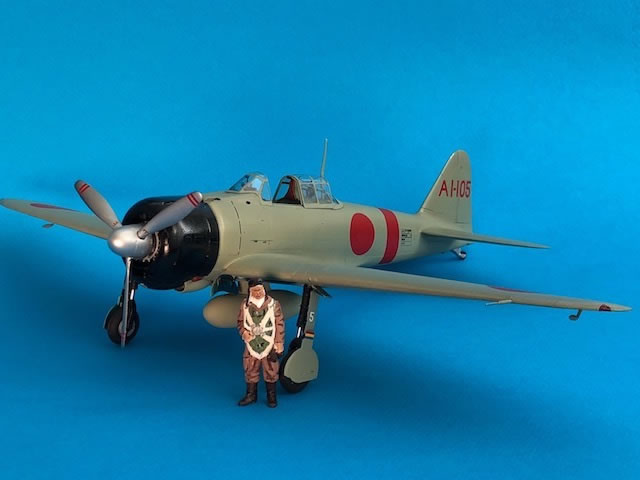
Tamiya released its 1/32 A6M5 Type 52 kit in 2000 and followed that up with the Type 21 in 2006. The kit shared many parts with the A6M5, and, as a result, one has a load of parts left over after assembling the kit. It includes 14 sprues of gray plastic parts plus multi-media parts including photo-etch, metal screws, steel springs, rubber O-rings, and other metal parts. The kit includes a nicely sculpted seated and standing pilot figures. Instructions are presented in a 32-page booklet and a full color drawing is also included in the box. The decals include markings for six different fighters that took part in the Pearl Harbor attack. The number of parts is almost overwhelming, and one must take a deep breath before launching into assembly!

I originally purchased the Type 52 kit when Tamiya first released it, but I really wanted to build a Type 21 Pearl Harbor version. After Tamiya’s Type 21 release, it took me quite a while to make the decision to sell my A6M5 kit and buy the A6M2. The kit was hard to find, but I finally was able to get one shipped from a hobby shop in Japan. Needless to say, I ordered it at the start of the COVID pandemic, so it took almost four months to arrive at my door.
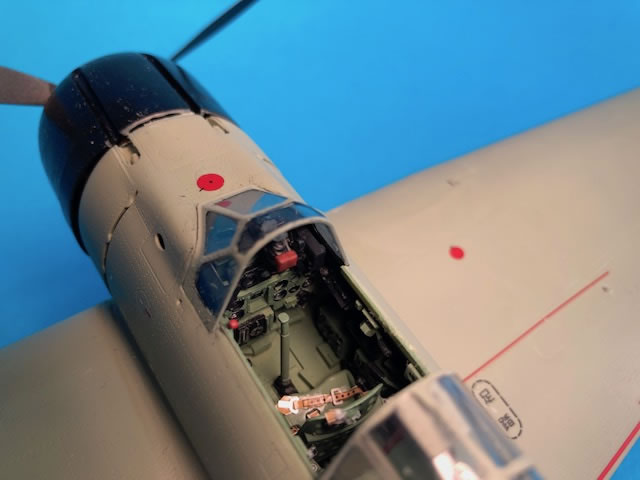
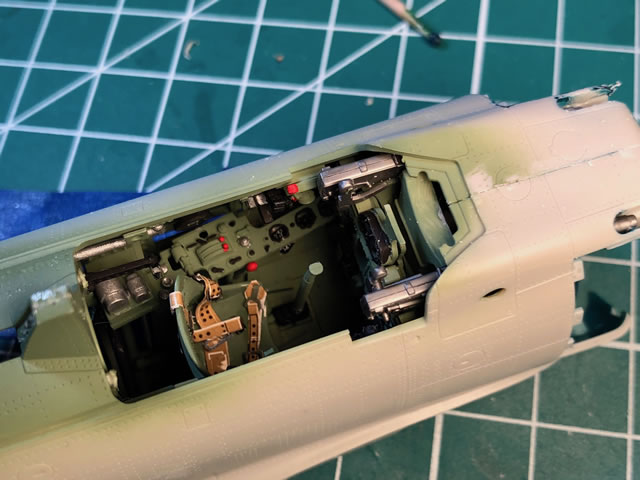
Assembly began with the fuselage and very detailed cockpit tub. Here, one must be careful to decide which aircraft you are modeling, as there are different pieces for all 6 aircraft included in the decals. I chose Tamiya paints for this build, so I painted the cockpit and other fuselage interior locations with Tamiya XF-71 Cockpit Green. Various boxes and instruments were hand painted using hobby acrylics and Model Master enamels.
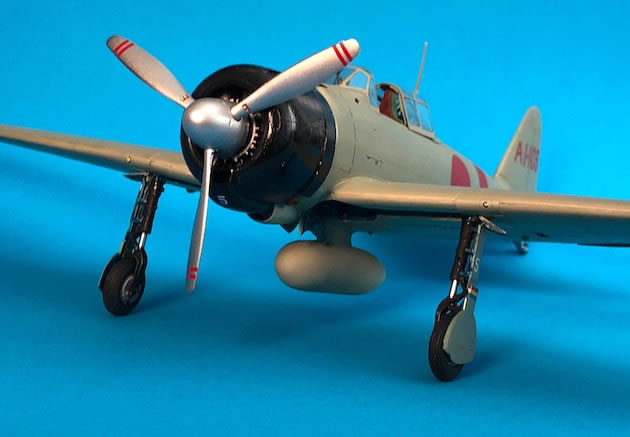
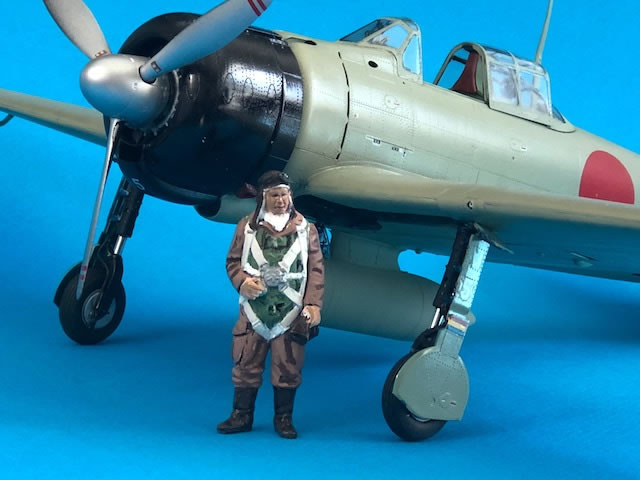
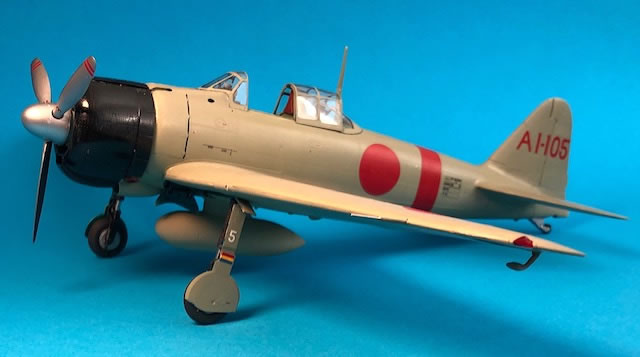
The next major assemblies are the wings, rudder and horizontal stabilizers. Here, I encountered a major issue. As another reviewer proclaimed, “the kit doesn’t know if it’s a model or a toy.” Tamiya included numerous moveable features in the kit and getting those installed properly is a MAJOR part of the assembly process. After fiddling with the wing flaps, I finally decided that incorporating these moveable features was not worth the effort, so I fixed the moveable features in place. Had I made this decision earlier, I could have cut a lot of time off the process. Another example is the landing gear, which incorporates springs to allow the gear to move like those on the real aircraft. Unfortunately, the model is not heavy enough to compress these springs sufficiently when it is sitting on its landing gear, so if you want to display it in a sitting position, you need to discard the springs, figure out the correct position for the landing gear struts, and then secure them with glue. Another troublesome feature is the main gear retraction mechanism, which I also decided to ditch.
From there, one moves to the engine, which is a stand-alone model itself. Unfortunately, after hours of assembly and painting, I discovered that the engine didn’t seem to fit inside the cowling when I attached it to the front fuselage. To make it fit, I had to remove the outer engine support rings and also carve some plastic off of some rear cylinder heads. I decided to do this since I didn’t care about making the engine visible by removing the cowling halves.
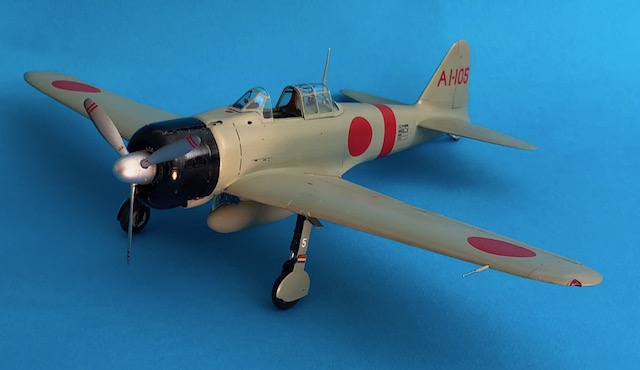
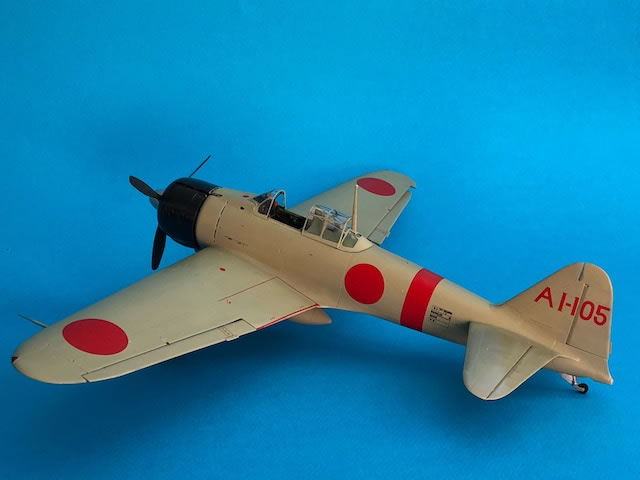
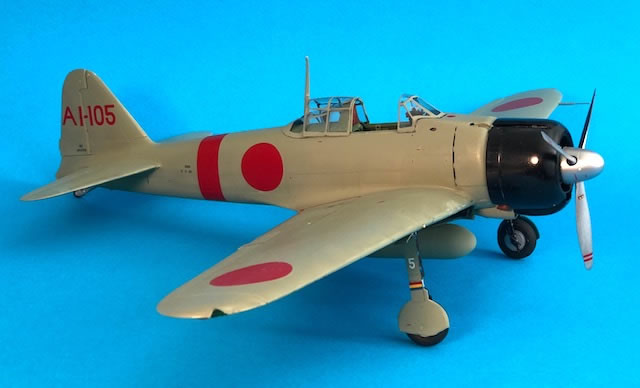
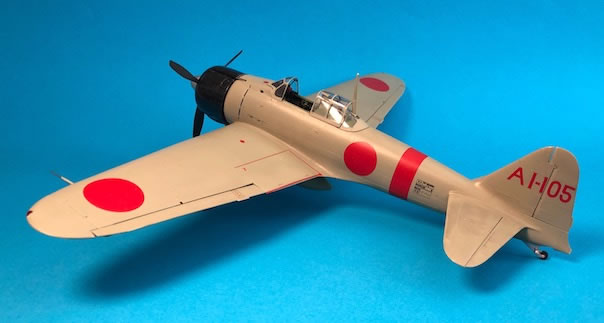
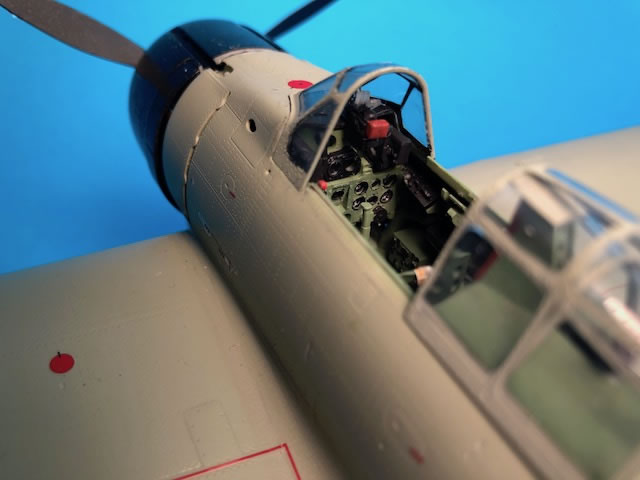
Once I got to an essentially assembled airplane, I went to paint it. For the overall color, I chose Tamiya XF-76 IJN Gray Green, which is spot on to the color of the web pictures of the A6M2 on display at the National Museum of the United States Air Force. Tamiya includes a set of canopy masks, so this made painting the multi-frame canopy easier. For painting, I opted to attach the canopy in the closed position with white glue. For the wheel wells and other appropriate locations, I mixed X-13 Metallic Blue and X-25 Clear Green per the instructions to create the Aotake corrosion resistance paint used by the Japanese Navy on exposed aircraft surfaces. I painted the cowling Model Master flat black, and after the overall gloss coat, I used Testors Dullcote to achieve a satin finish.
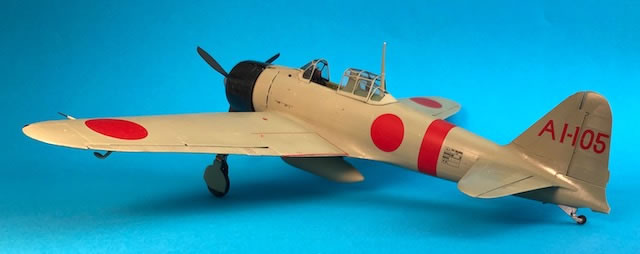
I wanted to model an aircraft from the Pearl Harbor first attack wave, so I chose the decals for the lead plane of Carrier Division 1 that launched off the carrier Akagi. After a clear gloss coating of Testors Glosscote, the decals laid down smoothly with a generous amount of Micro-sol setting solution.
This kit is not for the faint of heart, and I consider it a Pyrrhic victory to have completed it. Although the fit is outstanding, the moveable features are a major hurdle and the engine fit problem is disappointing and frustrating. Nevertheless, if you want an accurate 1/32 scale Type 21 Zero, this is the go-to kit.
Model, Images and Text Copyright ©
2021 by Blair Stewart
Page Created 3 February, 2021
Last Updated
3 February, 2021
Back to HyperScale Main Page

|
 Home
| What's New | Features | Gallery | Reviews | Reference | Resource Guides | Forum |
Home
| What's New | Features | Gallery | Reviews | Reference | Resource Guides | Forum |