Canopy Masking
Tips & Tricks Part Three
Masking Birdcage Canopies
by John Miller

Canopy designs that incorporate multiple frames or “birdcage canopies” (due to the obvious resemblance) were common on aircraft of the 1930s and 1940s and typified by the North American T-6 Texan and Hawker Hurricane.
Birdcage canopies can be a bit of a masking challenge. Should you be faced with masking one of these beasties, my first suggestion is to put your rolls of Tamiya tape away and purchase an aftermarket mask set. The current generation of die-cut canopy masks by Eduard (and other manufactures) are a breeze to use and, when applied appropriately, give beautiful results right out of the package.
If, however, you have a penchant for older, more esoteric kits, there are usually no aftermarket options available. In this situation, you may want to dig out those rolls of Tamiya tape and use a few tricks that make masking these canopies easier, even enjoyable? Okay, let’s not go too far!
Masking a Birdcage Canopy |
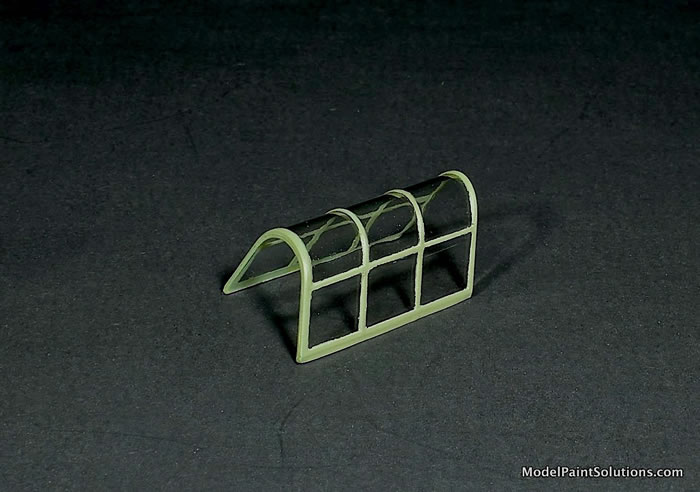
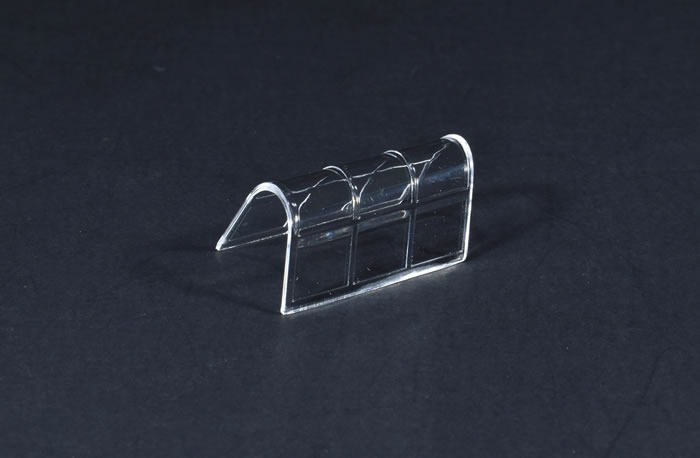
As a working example lets consider masking the canopy of the Airfix 1/48 Hawker Hurricane; a canopy with frames-a-plenty.
On a tempered-glass work surface multiple pieces of Aizu 1mm-wide masking tape were cut longer than the canopy is wide. These were arranged parallel to the horizontal frames on the canopy. Note the strips of tape were not pressed or burnished onto the plastic at this time but left only loosely attached.
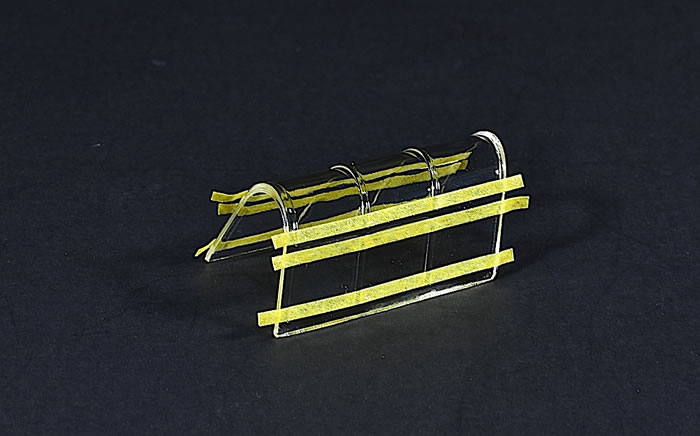
Strips of tape were then added on each side of the vertical frames again taking care to apply them only lightly with no embossing as with the horizontal tapes. Once a strip was aligned and lightly pressed in place, the areas where the horizontal and vertical tapes overlapped were pressed together forcefully with an embossing tool or toothpick.

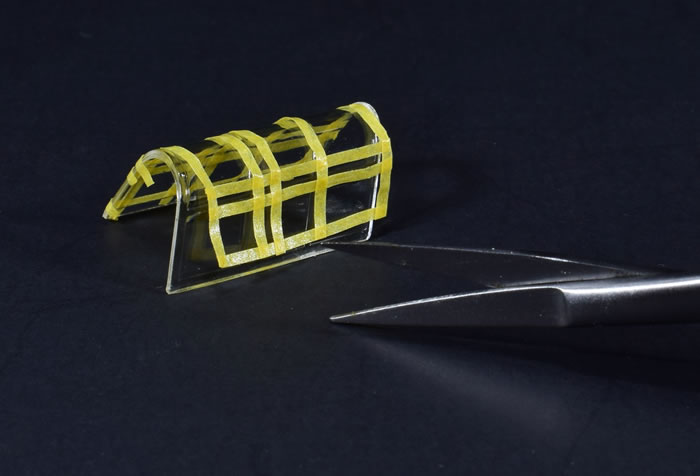
For the next steps the canopy was immobilized onto a piece of wood with a wad of putty. This permitted both hands to be used when manipulating the small strips of tape. Using a sharp pair of tweezers and a gentle touch the vertical and horizontal pieces of tape were pulled away from the canopy in a single piece and angled upwards. This was made easier by grabbing the tapes at the overlapped, burnished areas with tweezers and gently tugging.

Using a sharp pair of straight-edge mini-scissors and tweezers, the pieces of excess tape on the periphery of the outer horizontal and vertical tapes were cut flush leaving no stubs. This is key to obtaining a crisp line after painting.
The tapes outlining the front, lower left, clear panel were cut free as a single piece, held together by the heavily embossed corners. This piece was then applied to “it’s” panel and burnished in place with an embossing tool.

It was at this point that I realized I’d forgotten one of the vertical tapes and had to partially reapply potions of the taping in order to add the missing piece: reality happens.
This process was continued producing outline masks for each clear panel, held together by their burnished corners. These pieces were easily manipulated into alignment and then burnished in place.

Note that this technique gets around cutting the masking tapes while they’re on the canopy thereby obviating the risk making little nicks in the plastic (or worse if you’re as ham-handed as I am).
If, however, you’re handy with an X-Acto or similar, this technique easily lends itself to a bladed tool. When I sometimes opt to go this route, I prefer to use a #15 surgical scalpel blade that has a round cutting edge. The rounded blade permits the scalpel to be pressed and rolled over the tape versus dragging the cutting edge through the tape as would be done with a pointed blade like a #11 X-Acto.
As was done when using mini-scissors, the excess tapes on the periphery were removed first by rolling a #15 surgical blade over them.

The remaining pieces of excess masking tape were removed using the same technique. Note the small nicks in the plastic where the #15 blade cut the tapes.
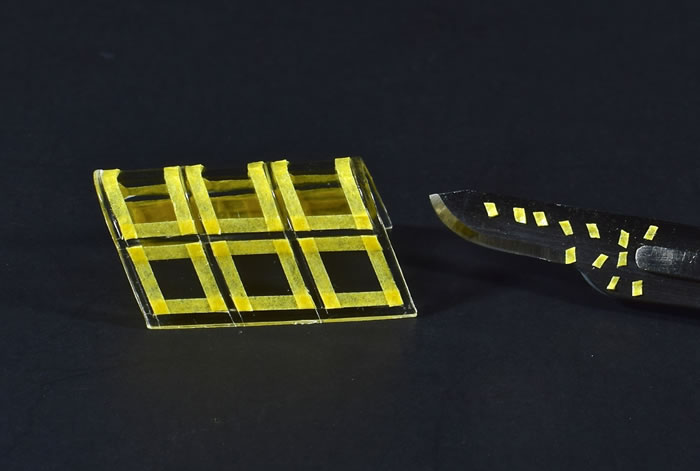
The goal when using a blade for this step is to use just enough force to cut the tapes but not nick the underlying plastic. I obviously need more practice.
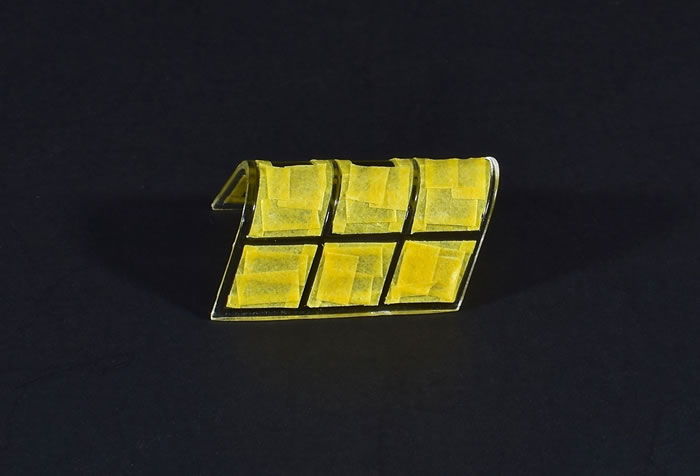
With each panel outlined with tape the next step was to mask the the inner areas. This was easily accomplished with small squares of masking tape that were pre-cut and arranged on a tempered-glass work surface.

After a a couple of minutes all the clear frames were masked, burnished, and ready for primer and paint.
An alternative to using small squares of masking tape is to use a liquid mask. There are many brands of liquid mask out there but the one I prefer is Mr. Masking Sol R by Mr. Hobby. I typically dip my canopies in Future or Pledge with Future Shine (as its now called) and the Mr. Masking Sol R doesn’t tend to fog a dried coat of Future as can other brands of liquid mask.
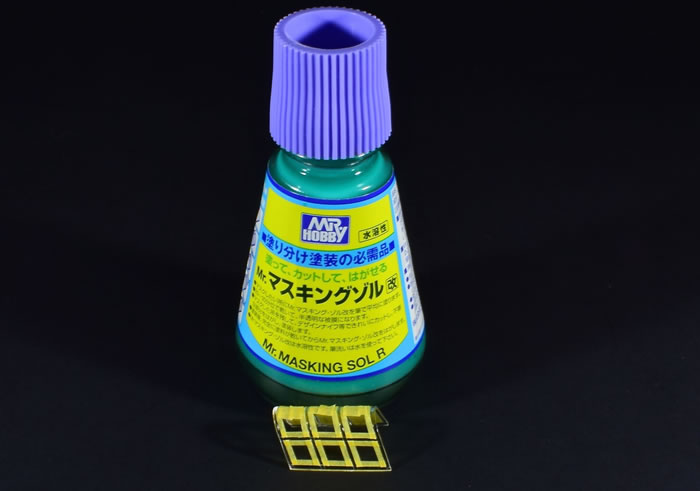
Using a sharp toothpick, a small dollop of Mr. Masking Sol R was spread within the outline tapes of each clear panel. Note that I spread the mask over the edge of each tape to ensure a paint-tight seal in preparation for painting.

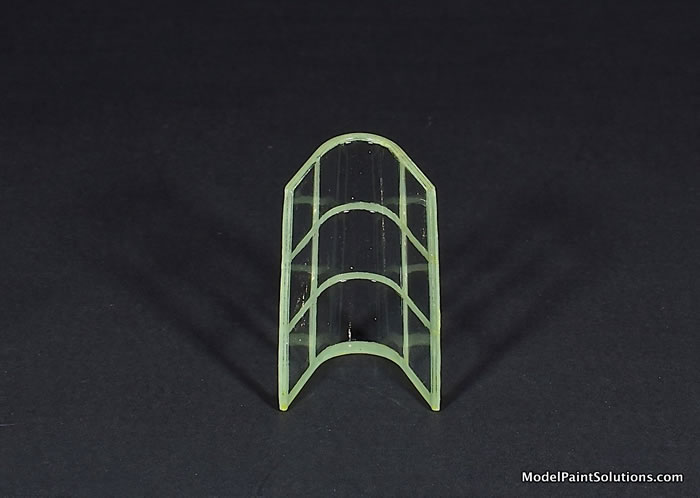
The masked canopy was affixed to a work board with putty and shot first with Mission Models RAF Interior green followed by Mission RAF Dark Green. Once the masks were removed the interior green color appeared to be on the inner face of the framing when viewed from outside.
Thanks for reading along! I hope you found something helpful.
On my bench, the key to masking any type of canopy is having the appropriate tools. This starts with good light and magnification and a tempered glass work surface on which to cut masking materials. A stock of new #11 X-Acto blades with a comfortable handle as well as a surgical scalpel with #15 (rounded) blades. A tool that’s not seen that often but very useful for this technique is an embossing tool. Mini-scissors (both straight- and curved-blade), a quality pair of tweezers and toothpicks completes the required hardware.
In addition to having the appropriate tools, immobilizing the canopy onto a building board with white putty thereby freeing both hands to place and arrange pre-cut masks makes the task of masking a canopy so much easier. Without this step, I personally couldn’t perform the techniques described in this series.
If you have any questions or comments on this series, drop me a line at john@modelpaintsol.com.
For more on this article visit Modelpaintsolutions.com
https://modelpaintsol.com/guides/canopy-masking-tips-and-tricks-part-3-bird-cage-canopies
Text and Images Copyright © 2021 by Model Paint Solutions
Page Created 11 February, 2021
Last updated
11 February, 2021
Back to HyperScale Main Page
Back to Reviews Page

|
 Home
| What's New |
Features |
Gallery |
Reviews |
Reference |
Forum |
Search
Home
| What's New |
Features |
Gallery |
Reviews |
Reference |
Forum |
Search