Gavia's 1/48 scale
Westland Lysander
by Brian Bourdon
|
|
Westland Lysader |

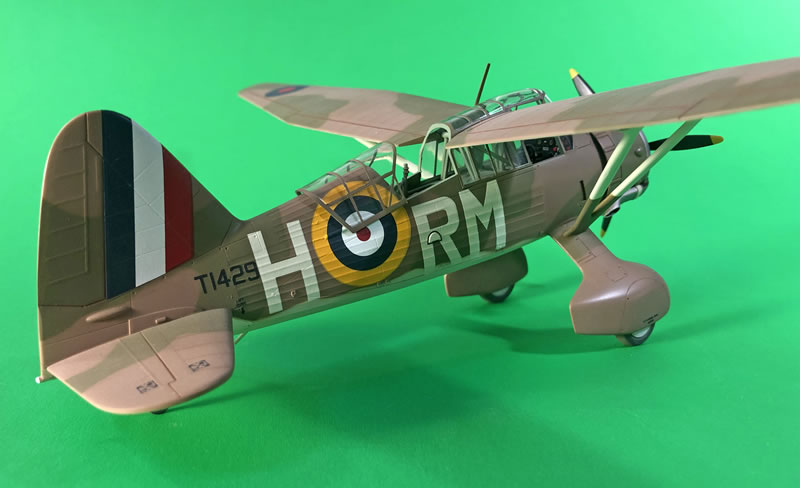
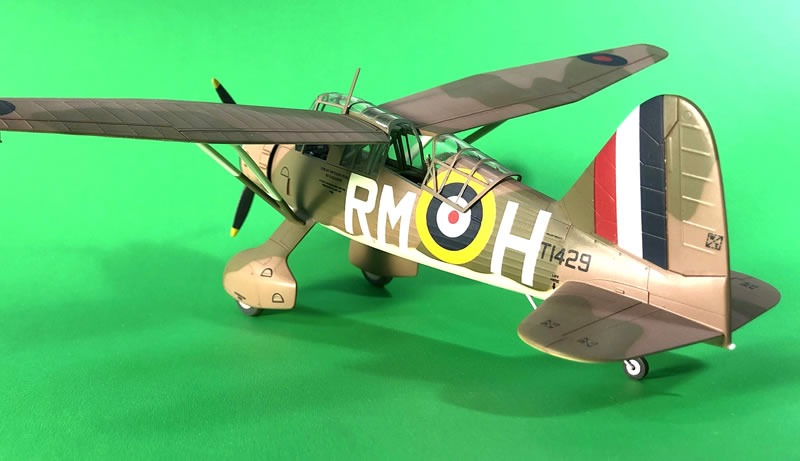
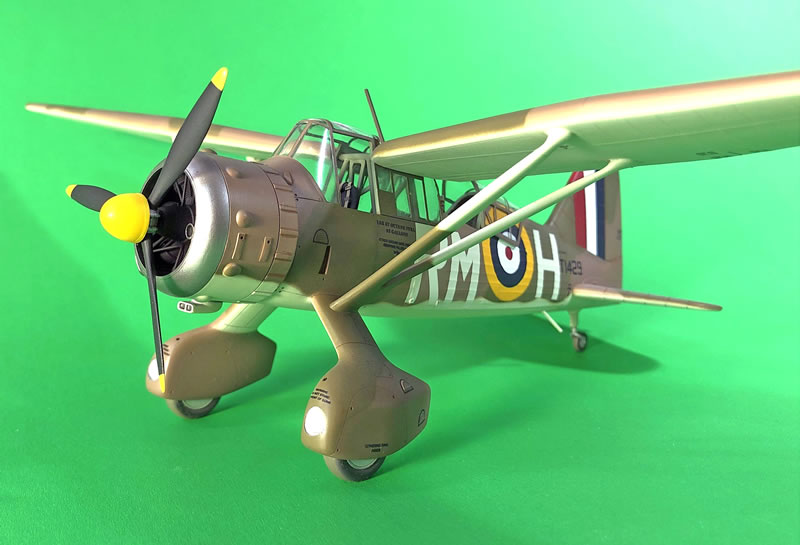
This is Gavia’s Lysander Mk III. If you are looking to add a quarter scale Lysander to your collection, this (which includes Eduard’s re-issue) is probably the best option.
Prep Work…
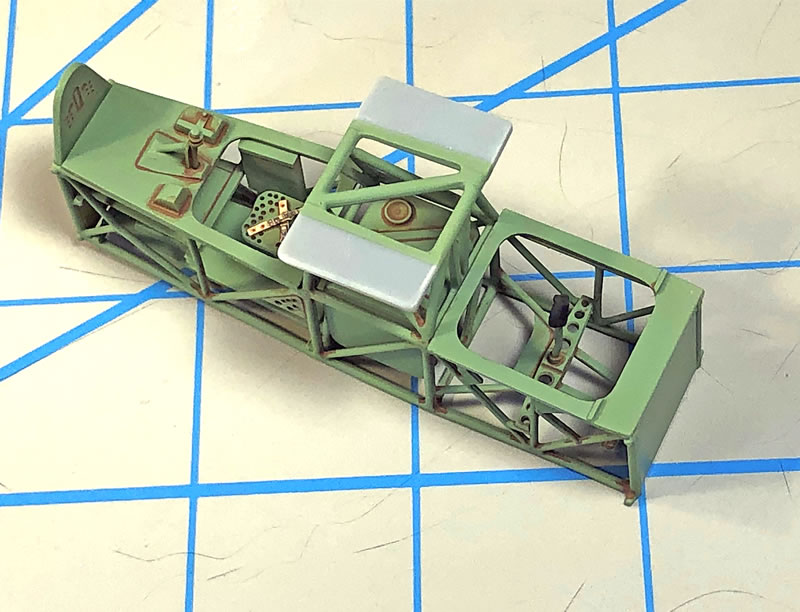
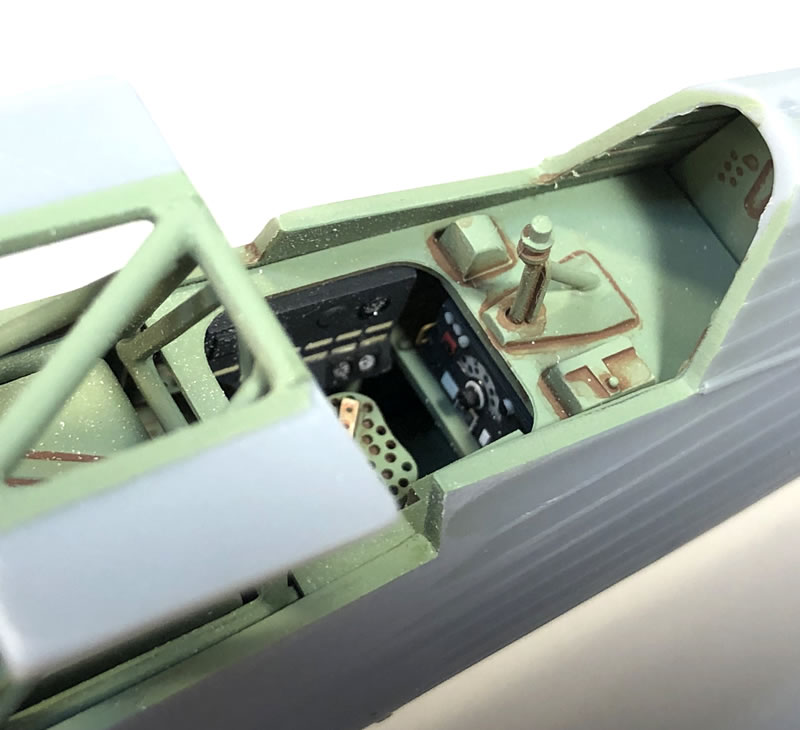
Construction begins with the cockpit. I would have most certainly bought Eduard’s colored photo etch set, but as it was no longer available when I finally rescued this kit from the Closet of Doom, I had to resort to a bit of scratch building.
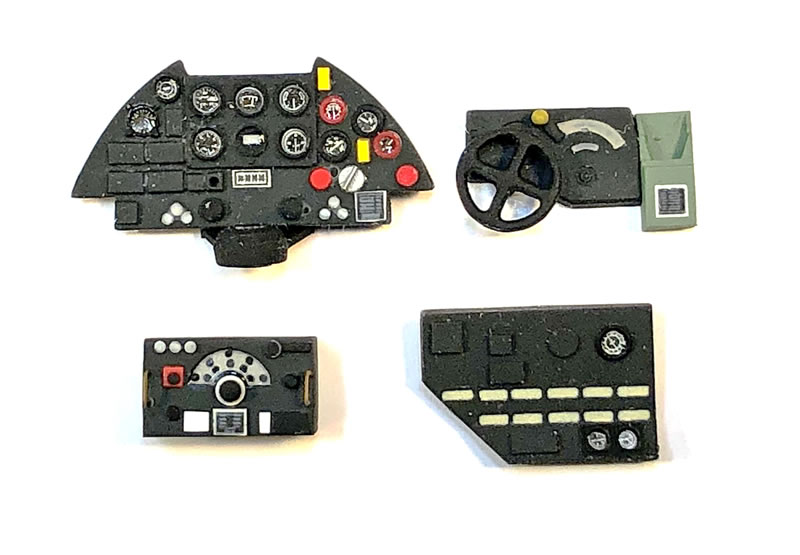
The instrument panel was refaced with card to facilitate the placement of Reheat photo etched bezels.
The central cluster was sourced from an ancient Eduard set designed for the Hasegawa Typhoon. This piece needed only a little modification to fit.
The pilot’s seat was over simplified and benefited from the addition of a seat pad. I searched everywhere for photographic evidence of the WO/Gunner’s backrest (part 20) but found nothing. As such, I left it off. Eduard’s pre-painted RAF harnesses were added to each position.
A map case was added to the throttle quadrant and the appearance of the electrical box by the WO’s position was improved with a few bezels and some white decals sourced from my spares box.
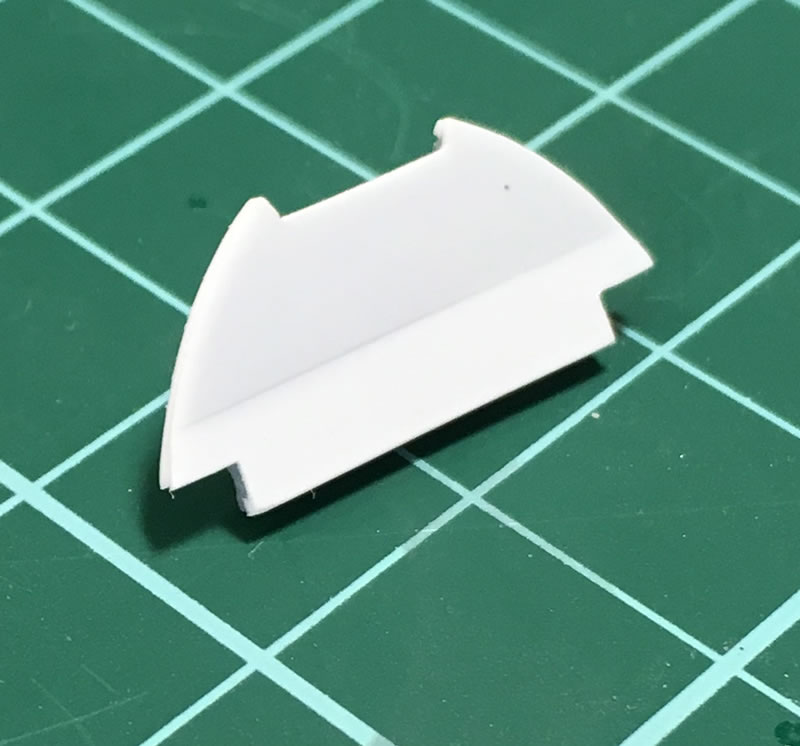
The R1155 radio receiver looked a little anaemic to me, but the dimensions are actually spot on. I checked. Good job Gavia! The details were a bit soft, however, so I scratch built a replacement.
And finally, I drilled out some lightening holes here and there.
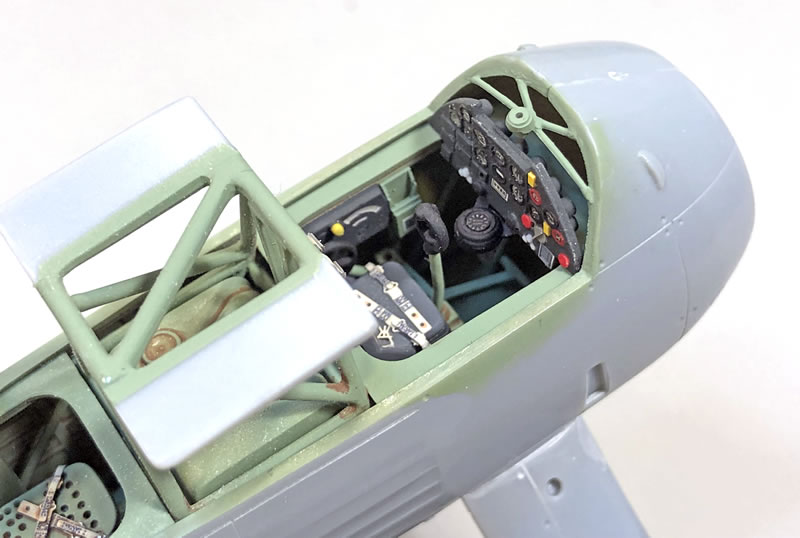
I’d read that the cockpit’s tubular structure was troublesome and, as a result, I was perhaps a bit more careful at this stage than usual. I found no serious issues beyond the fact that the assembly proved a bit fiddly.
The interior was painted Aero Master British Interior Green. Please note that while Gavia suggests the gas tank should be painted aluminum, I opted for Interior Green. It would appear that this was the case for at least some aircraft.
Some of the equipment including the IP was picked out in Tamiya NATO Black. The leather seat cover and seat pad were painted Tamiya XF85 lightened with white. Three light coats of Future prepped the interior for a very select XF64 (Red Brown) pin wash.
General Construction…
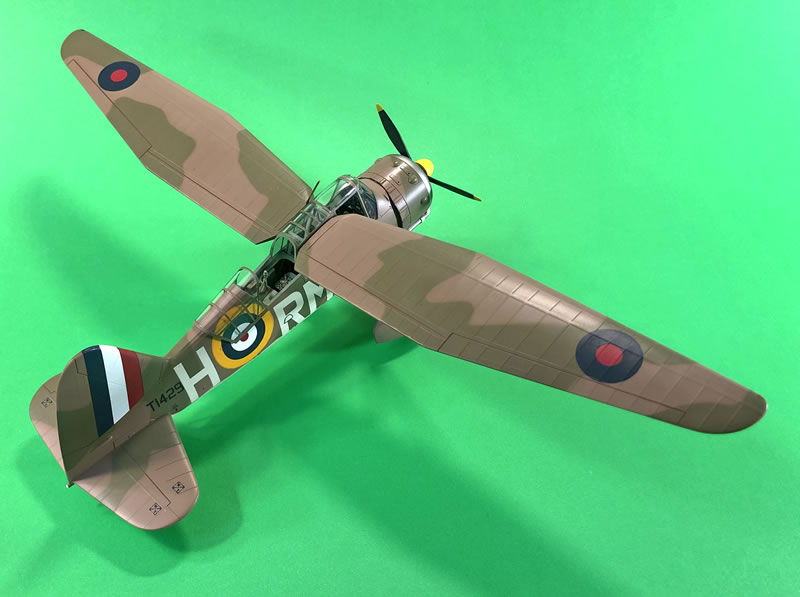
The fuselage halves were buttoned up without much fuss, despite the lack of alignment pins. According to a detailed set of drawings in SAM (June 2003) there are a few access panels under the fuselage beneath the cockpit. I made these with 5 thou card.
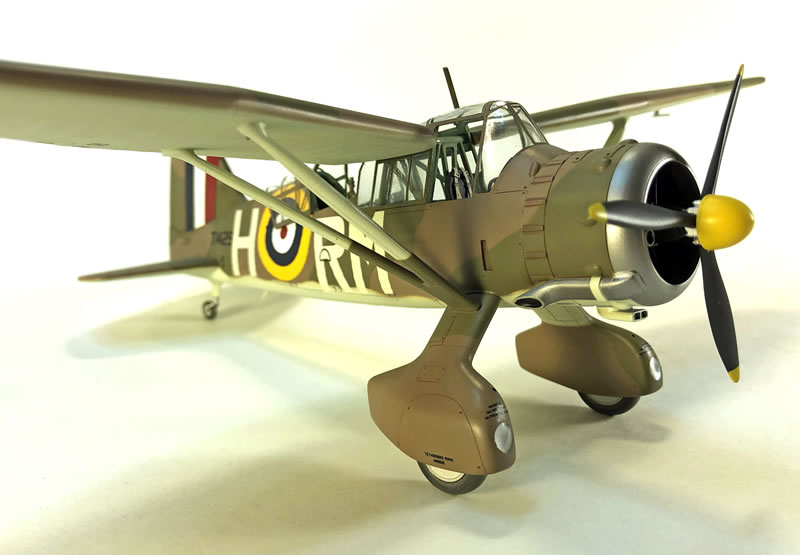
The engine, as supplied, is very basic consisting of only the crank and gear cases as well as the cylinders. You are left to your own devices for the push rods and mounts. For these, I simply used 20 thou plastic rod.
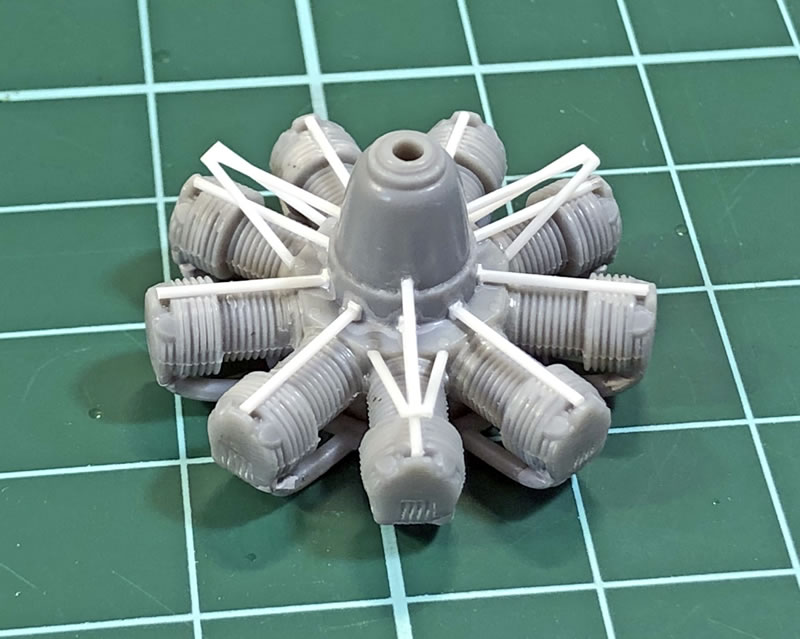
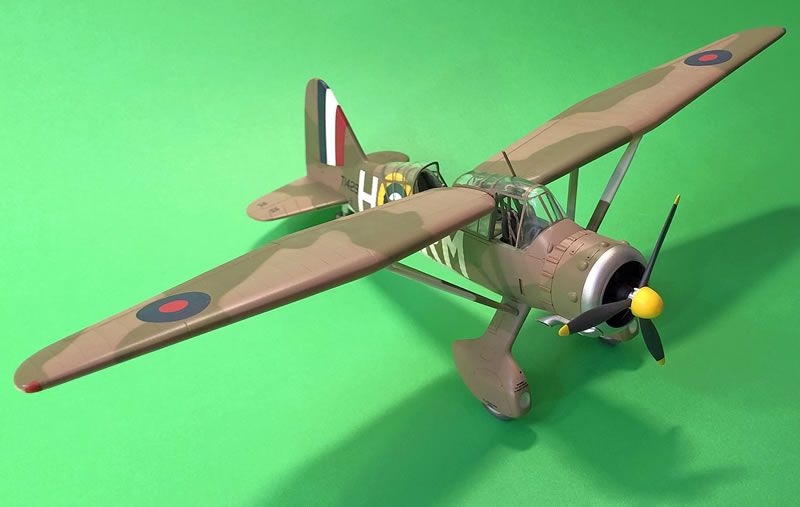
The cowl is a three part affair with awkward seams that need careful sanding. Furthermore, it is either too small or the engine is a titch too big. Had I known before hand, I would have been tempted to shave a little from the bottom of the cylinders before attaching these to the crankcase. Instead, I removed a little from the very top of the heads.
The propeller as supplied by Gavia lacked both the automatic pitch and feathering controls. My spares box provided a suitable replacement. The spinner was modified to fit.
Dry fitting the wings uncovered a lack of dihedral. To fix this, the original positioning holes were filled with styrene plugs and new holes were drilled approximately 4 mm inboard. This seems to have done the trick.
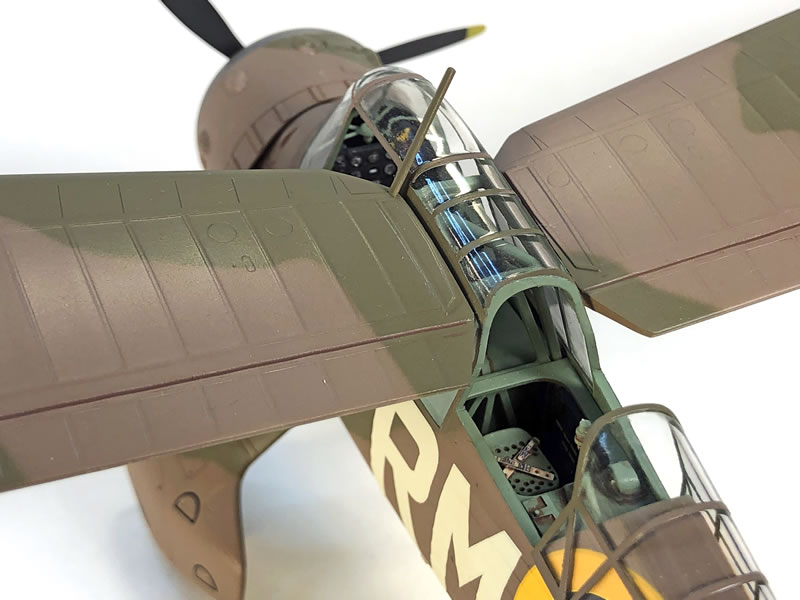
A special note on the clear parts…
One of the biggest issues with this kit is the clear parts. None of these fit particularly well. To begin, the side windows were seriously bowed. To compensate, I tried removing the roll-down’ sections forward, hoping that the remaining bits of glass would behave. They did not.
It is said that necessity is the mother of invention. Having nothing to lose, I clamped both side windows between two flat pieces of metal – galvanized door hinges in actual fact – and steamed’ the whole over a boiling kettle for approximately 30 seconds. After being allowed to cool overnight, the side windows were released. The indirect application of heat worked. The panes remained perfectly flat. No one was more surprised than me.
As to the windscreen and greenhouse,’ a considerable amount of tweaking, shimming, filling and clamping was needed to get everything in place.
The landing lights also proved troublesome. Try as I would, I could not get them to sit properly. After a lot of head scratching, I decided to simply go old school’ and sealed them in with super glue. The leading edge of each spat was reshaped with a file, after which the lenses were restored with progressively finer grits of sand paper. The result isn’t perfect, but it will have to do.
Painting and Finishing…
The undersides were painted Gunze Sky and the upper surfaces with Mr. Color 72 (Brown) and 73 (Green). Of note, Mr. Color’s interpretation of RAF Brown is much too dark out of the bottle and has to be lightened with white; Tamiya X-2 in this case. Everything was sealed with two coats of Future.
The decals behaved relatively well considering the sheet was printed in 2001. Some of the smaller stencils silvered, true. And, I might question the color and size of the squadron codes. I believe these have been updated since.
The biggest issue was with the large fuselage roundels. A sort of yellowish rim about a ½ mm in width appeared along the outer edge after the decals had been applied. The effect was hideous. A period of self-loathing followed which might have led to a destructive bout of binge watching Hallmark Christmas movies (these seem to air year round here) had not Lady Luck smiled upon me. I stumbled onto a pair of similarly sized roundels in my decal file and after a very careful bit of trimming, I overlaid the yellow part onto the disaster at hand. This not only corrected the fuzzy edge but modified the original color to something approaching RAF standard.
Model and Text Copyright ©
2024 by Brian Bourdon
Page Created 18 January, 2024
Last Updated
18 January, 2024
Back to
HyperScale Main Page

|
 Home
| What's New |
Features |
Gallery |
Reviews |
Reference |
Forum |
Search
Home
| What's New |
Features |
Gallery |
Reviews |
Reference |
Forum |
Search