Airfix 1/48 scale
de Havilland Sea Vixen
by Marcello Rosa

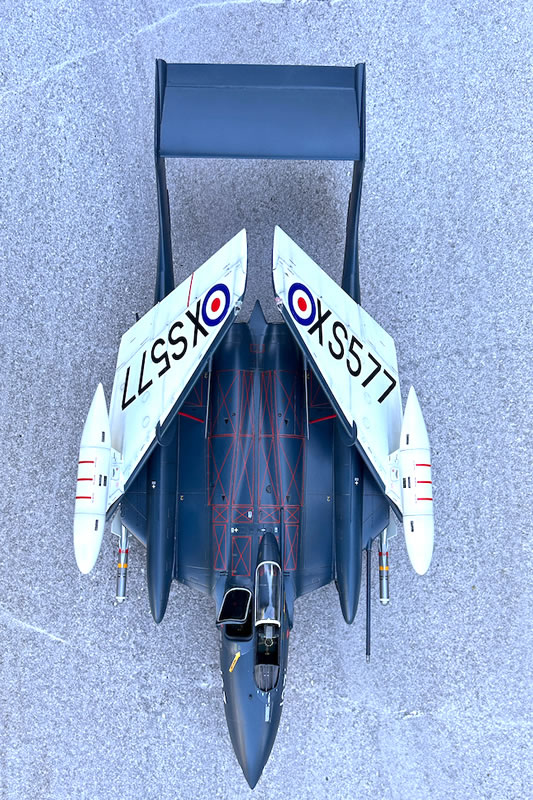
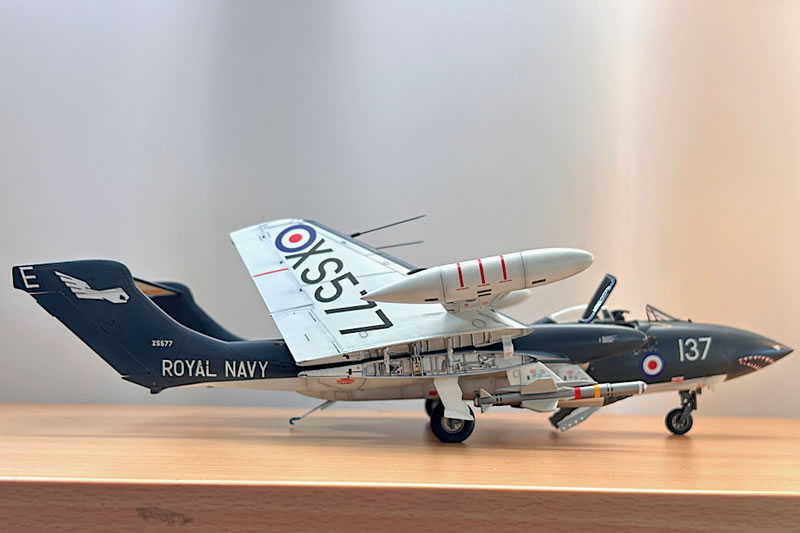
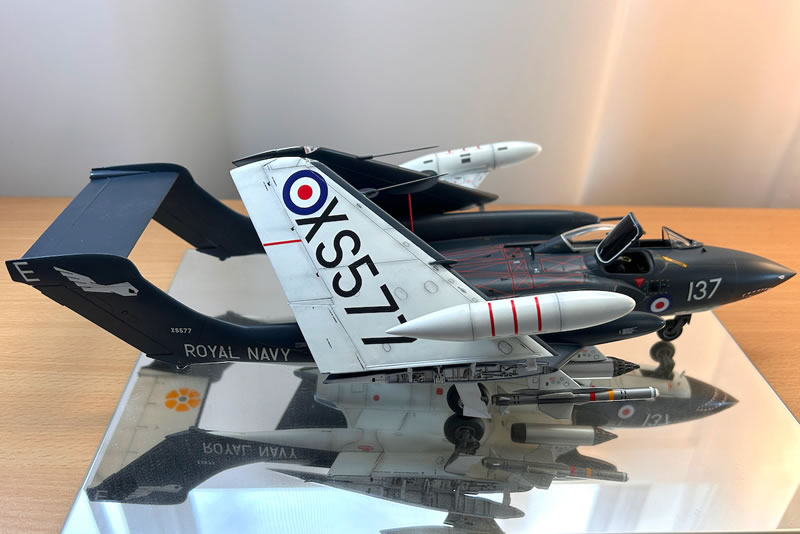
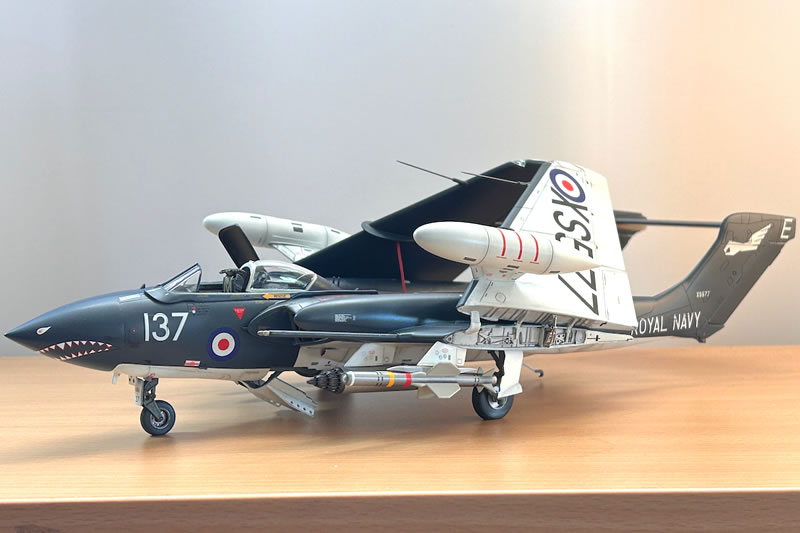
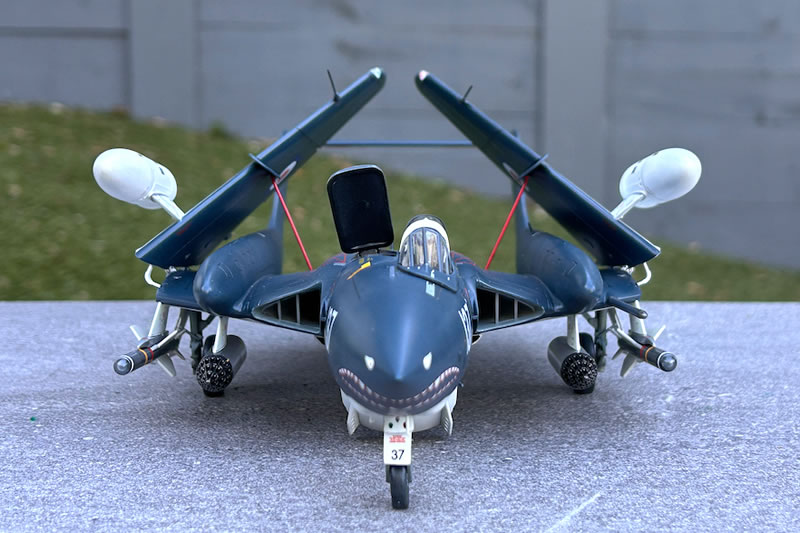
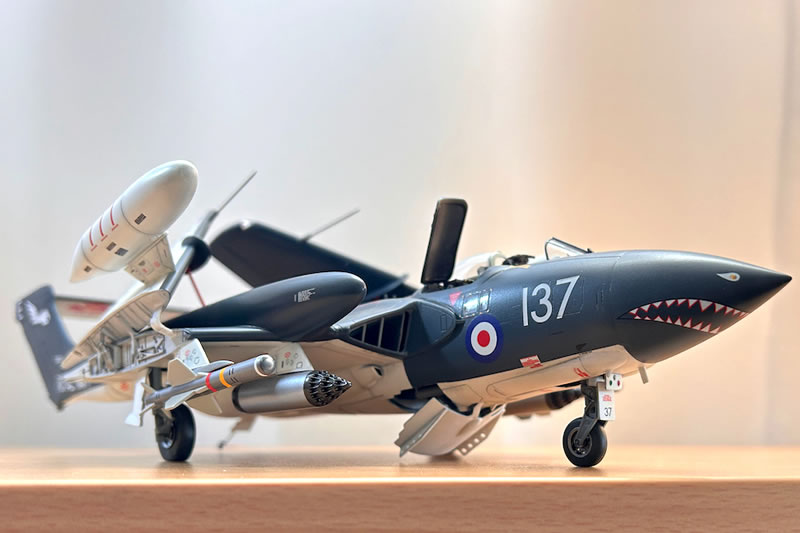
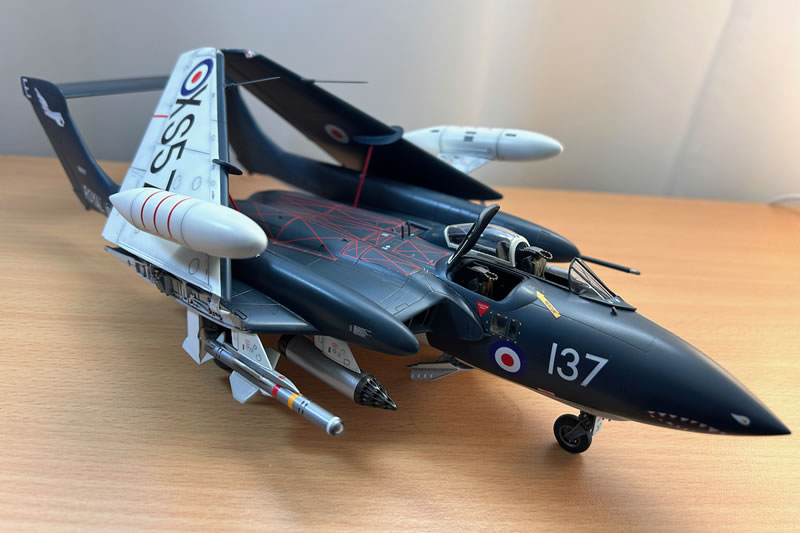
Here are some photos of my recently completed Sea Vixen, representing a plane from No. 899 squadron FAA, flown from HMS Eagle in the mid- 70’s. I think this plane is a proper representation of a golden age of British aviation, when things were allowed to be original and "a bit different”. To me one of the surprises was how large the Sea Vixen was. Particularly in pictures taken in flight, it give some the impression of a sleek, trim airframe, but when placed side by side with my 1/48 Phantom it is longer and appears bulkier. Considering how much smaller the British carriers were in comparison with the US carriers, I can imagine that storage space was an issue.
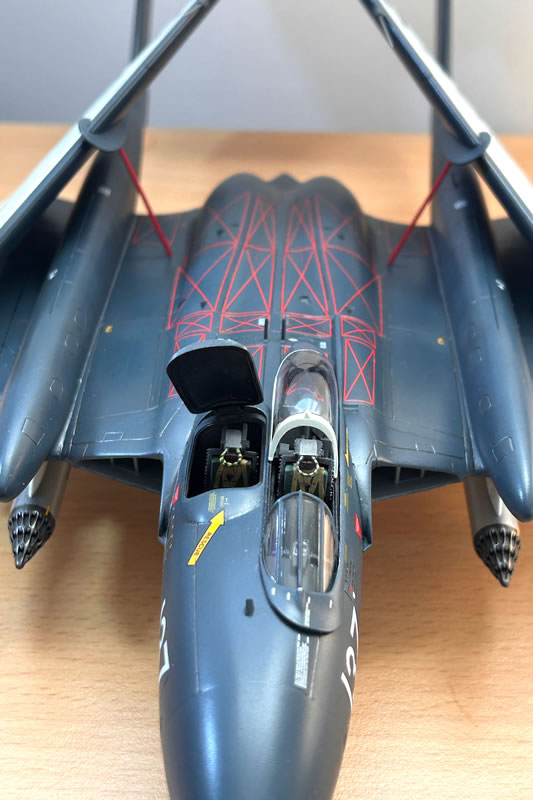
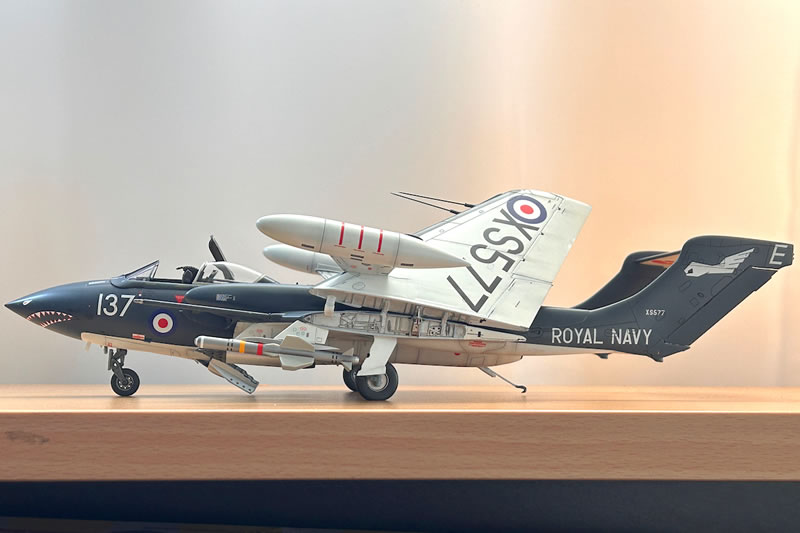
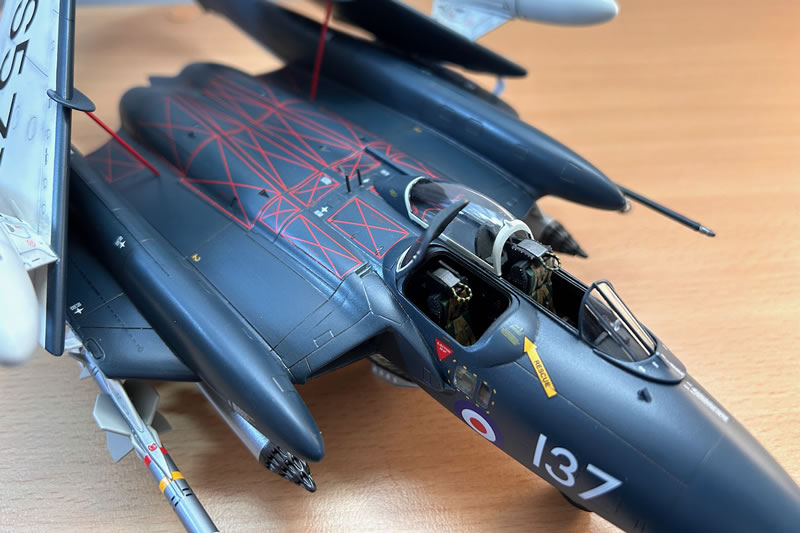
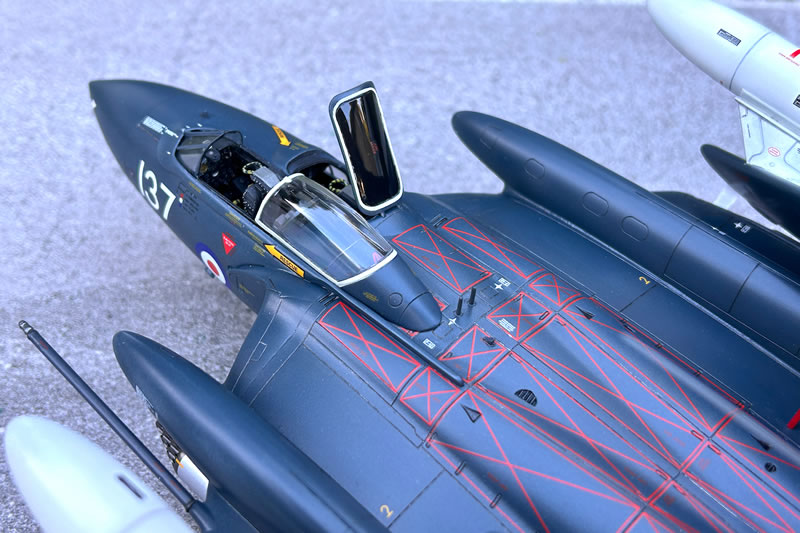
This model was built using the Airfix 1/48 kit, with a few scratch built details to replace broken or lost parts. These included creating the seeker heads of the Red Top missiles from drops of Micro Krystal Klear (after losing them) and the pitot probes from needles (after breaking them removing from the sprue). I also added seatbelts made from Tamiya tape, and represented some detail along the top of the booms using tungsten rod (hinges for the service access doors). Everything else is the kit’s original, including the decals. The kit could use some refinement. For example, the antennas and missile fins are thick, and if it wasn't for the fact that I was trying for an "out of the box”, I would have used some metal substitutes for better scale effect. But overall the fit between parts was good, with a few exceptions. Special mention to the flaps under the booms, which were difficult to get flush (my solution was to sand to a smooth finish, and re-scribe). The instructions were clear, the decals did what they were supposed to do without drama.
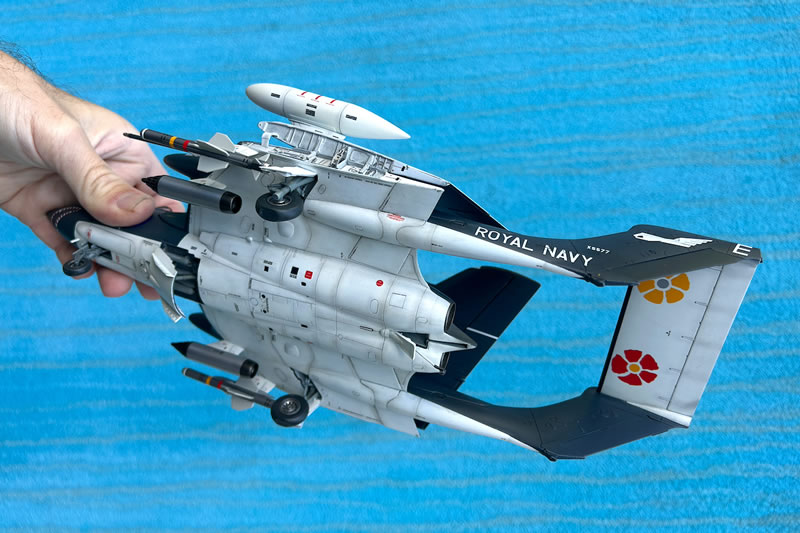
This was a relatively straightforward build. However, the decision to represent the plane on the ground with the wings folded added a lot of complexity. In the Sea Vixen a relatively large part of the wing could be folded, making the model’s wing sub-assembly heavy. Joining that to the fuselage/ wing root sub-assembly relies on two relatively flimsy brackets, and keeping them aligned and held long enough to obtain a firm bond is a job better suited for an octopus. Adding the subsequent bits of the wing folding mechanism is also complex, and it is difficult getting the two wings to be at the same angle. I have no real solution for this. I just kept trying again and again, until it worked. This included breaking first attempts, and starting over. For a less stressful time, consider showing the wings deployed.
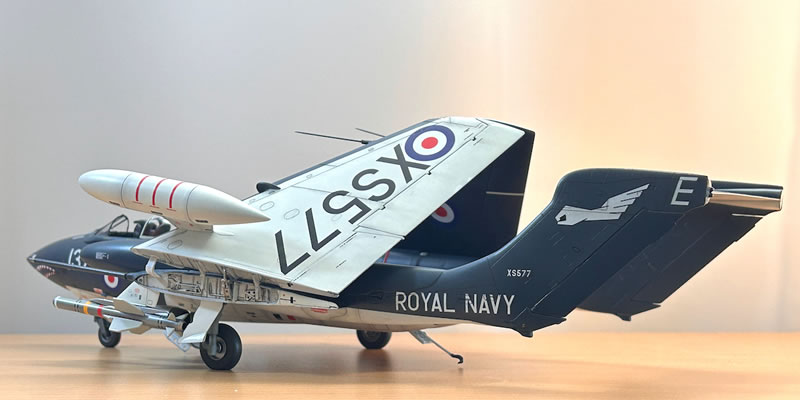
The model was primed with SMS Grey surfacer (PLP01), as it turns out several times, because initial fits were not so great resulting in several cycles of sanding.? The upper surfaces were painted with SMS Extra Dark Sea Grey (PL222), followed by irregular application of diluted Mr Color EDSG (333) and Vallejo Model Air Dark Sea Grey (71053). The hues from these manufacturers are slightly different, which adds some variation resembling weathering. The lower surfaces were started with SMS white surfacer (PLP03), followed by irregular application of SMS Insignia white and Mr Color Character White, to add variations. Depending on the references, I used either Tamiya Light Sea Grey XF-25 or SMS white surfacer for the ducts, and bays. Note that the instructions suggest Humbrol 34 (flat white) for one side of the wing folding mechanism interface, and Humbrol 87 (steel grey) for the other. This was not apparent in the pictures I could find, where the colours looked the same on both sides. I went with the white. The undercarriage was also done with Tamiya XF-25 as my proxy for Humbrol 87. Everything was coated with SMS Clear Gloss (PL09), the decals were applied and sealed with the same, and panel lines were highlighted with enamel washes (created from various Tamiya metallics). The final touch was a mixed “satin” coat, created by mixing equal parts of SMS Flat Clear (PL10) and Clear Gloss (PL09). A moderate level of weathering was done with Tamiya Weathering Master powders, applied with paintbrush.
Strangely as it may seem, considering the popularity of the brand, this was my first Airfix kit. This mould is now >15 years old, and I can feel that progress has been made since, having just started a Buccaneer. But in general this was an enjoyable build of an odd-looking, but rather eye catching classic airplane.
For more photos and amore detailed build report, please visit https://www.marcellorosa.com/copy-of-1-48-sea-vixen-faw2, or send me an email.
Model, Images and Text Copyright ©
2025 by Marcello Rosa
Page Created 10 June, 2025
Last Updated
10 June, 2025
Back to HyperScale Main Page

|
 Home
| What's New | Features | Gallery | Reviews | Reference | Resource Guides | Forum |
Home
| What's New | Features | Gallery | Reviews | Reference | Resource Guides | Forum |