|
sWS
with Flak
by
Mike Millette
|
|
|
sWS with Flak
|

Italeri's sWS with Flak in 1/35 scale
is available online from Squadron.com
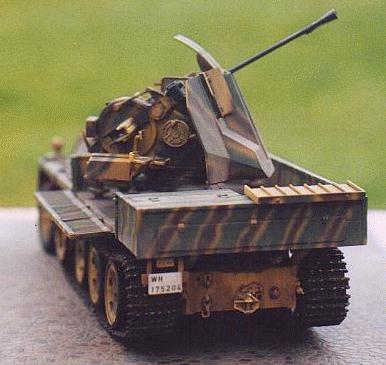
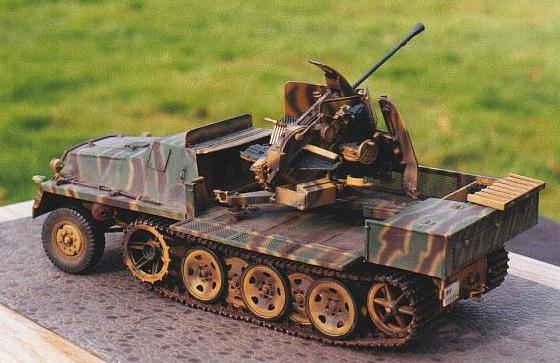
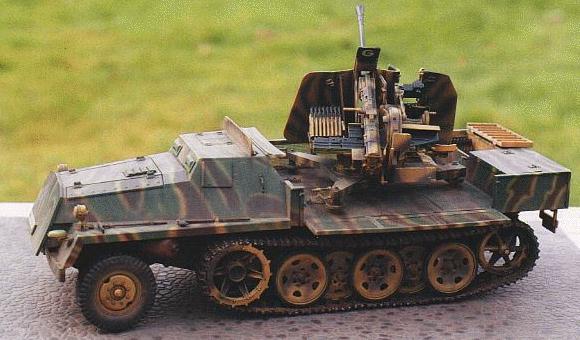
This is Italeri's sWS with Flak. I was initially inspired to build
this kit after seeing a shot of it in Bruce Culver's Osprey/New Vanguard
"SdKfz 251" book. A single picture of the right front side is
included in the very back of the book. I really liked the paint scheme
and felt it would be a challenging one to attempt. I had started the kit
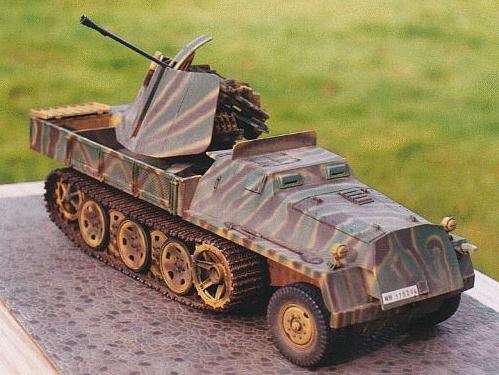
when I came across the Jentz & Doyle "Panzer Tracts" #12,
dealing with Flakpanzers. This publication provided shots of both sides
which was fortunate as the paint scheme on each side varies
significantly.
The kit was assembled using information fron an article on John
Robinson's Armor in Scale website. http://www.cidwebs.com/armorinscale/inboxswsflak.htm
John's article proved very helpful during construction. Major
alterations to the kit include:
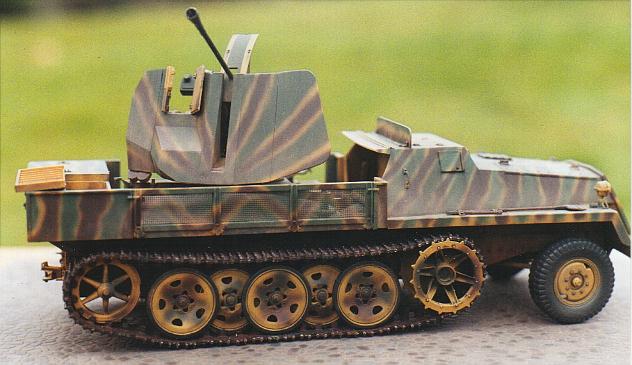
Cutting down the gun shield to match the photos. Adding additional
armor on the roof of the cab to match the photos. Using plastic tubing
in place of the 2 piece torsion bar covers. Substituting Friul tracks
and drive sprocket for the kit tracks/sprocket. These make a substantial
difference in the look of the kit. The right side window and cover were
reduced in size to match the photos.
As it stands the kit includes a different style of wheel & tire
as used on the vehicle in the photos. I have a resin set of wheels &
tires from R&J that match the wheel style but some work must be done
to accurately simulate the tire tread pattern.
The paint scheme was applied using Model Master & Floquil paints.
Floquil's SP Panzer Yellow was used for the base coat and Model Master's
Olive Green and Red Brown were used for the camo stripes.
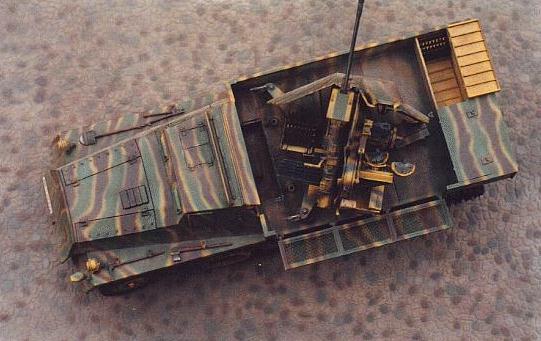
The complex scheme did prove to be a bit of a challenge, particularly
on the nose plate where the stripes interact in a very complex pattern.
It was however quite a lot of fun. I haven't seen any photos of the back
of the vehicle so some conjecture was necessary. Light weathering was
applied using a thinned brown/black mixture for general grime, some
local pin washes to simulate shadows and pastel dusting for good old
road dust. Lastly a graphite pencil was used to provide a few scratches
here and there.
All in all this was a fun project. I really like the stripped scheme
and enjoyed the challenge it provided.
|
Additional
Images and Project Summary
|
Click the
thumbnails below to view images full-sized.
Click the "Back" arrow on your browser to return to this page.


Model, Images and Text Copyright © 2001 by Mike
Millette
Page Created 06 June, 2001
Last Updated 18 July, 2001
Back to HyperScale
Main Page
Back to Gallery Index
|
 Home
| What's New |
Features |
Gallery |
Reviews |
Reference |
Forum |
Search
Home
| What's New |
Features |
Gallery |
Reviews |
Reference |
Forum |
Search