Home
| What's New |
Features |
Gallery |
Reviews |
Reference |
Forum |
Search
Home
| What's New |
Features |
Gallery |
Reviews |
Reference |
Forum |
Search
|
|
|
EE
Lightning F.1a
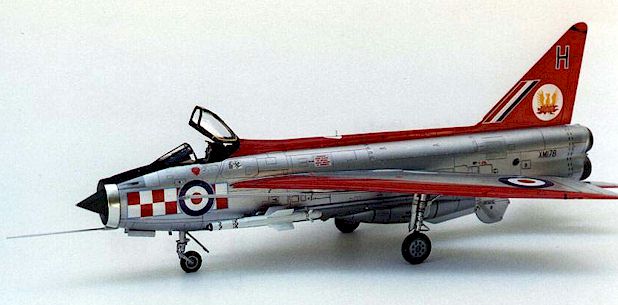
A contemporary of the F-4 Phantom and the MiG 21, the English Electric Lightning served the Royal Air Force in the role of pure interceptor for nearly two decades. With its sharply swept wings, huge chromed air intake, bizarre over-wing fuel tanks, and stacked twin engines, the Lightning had a unique look shared by no other aircraft in the world. Coupled with a reputation as one of the loudest aircraft ever to take wing, the Lightning thrilled airshow crowds with displays of sheer power and thundering noise. Those fortunate enough to have seen one in action were not soon to forget the experience.
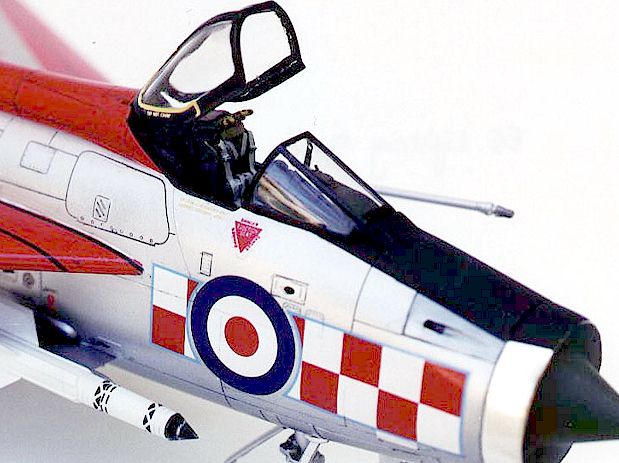
Brett Green’s excellent detailed review of the 1/48 scale Airfix F-2A/F-6 kit is already in the HyperScale Features section. I chose to do the earlier version of the Lightning - an F.1A of No. 56 Squadron’s "The Firebirds" aerobatic demonstration team, using Airfix’s F-1/F-1A/F-2/F-3 kit. The early Lightning had paint schemes that were easily as colorful as those found on US Navy aircraft of the same time period.
Like Brett, I used a Cutting Edge resin cockpit. And also like Brett, I cut through the floor when detaching it from the resin pour block. Painted with Polly Scale’s Scale Black and highlighted with a pure black wash and drybrushed with light gray, it looks great. I did have another problem that caused quite a bit of work: the resin cockpit was too wide for the space and did not allow the fuselage sides to fit together properly. Despite a lot of shaving and filing, I barely managed to get the two halves glued together with the aid of a wedge of sheet styrene to fill the gap in the nose area.
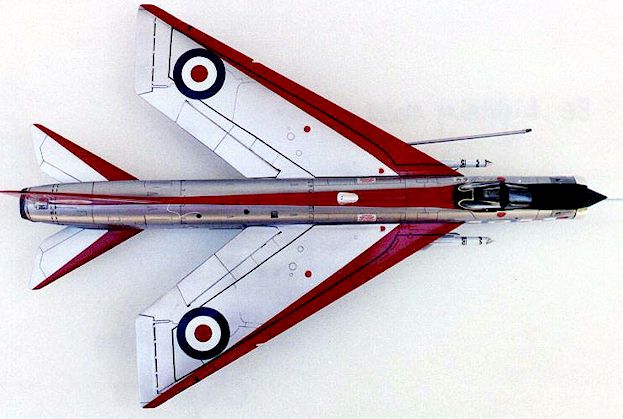
My wings were warped, which is a complaint that many modelers share with this kit. Gluing them together helped things a bit, but the complex angles of the wing make perfect alignment a difficult proposition. I had large gaps to fill at the wing roots. Since I was doing a natural metal finish, these gaps took a lot of work to get perfectly smooth. Airfix provides individual panels for the cannon ports, depending on which version you are doing. For such a nicely detailed kit, the panels for the aircraft equipped with cannons are of shockingly poor quality. Fortunately, a twist drill was used to open them up.
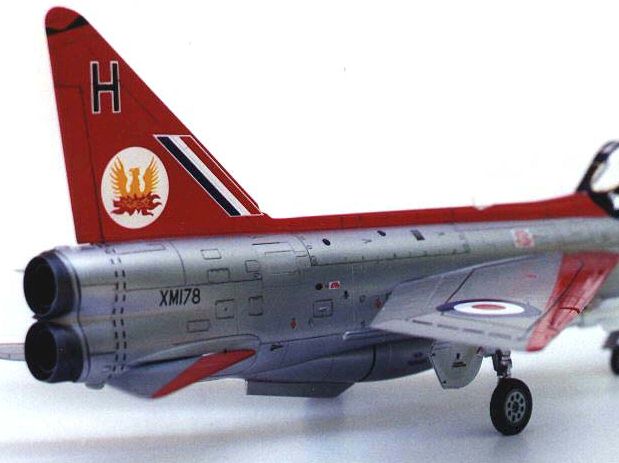
The model was painted with SNJ Spray Metal, and Testors' gloss enamel Guards Red used for the accents.
A wash of acrylic Neutral Gray was used to highlight the panel lines. Testors' Burnt Metal Metallizer was used on the exhaust, and Bare-Metal Foil was used on the exterior of the air intake ring. All stenciling came from the amazing kit decal sheet, while the main markings came from AeroMaster sheet 48-369. Please note that AeroMaster’s painting instructions are incorrect for this aircraft: the red accents on wing leading edges are straight and not curved as AeroMaster suggests.
Airfix is to be commended for making such a nice model kit. While problems with the wings seem to be inevitable when building this model, there is nothing that a modeler with average skills cannot overcome.
Model, Images and Article
Copyright © 1999 by Lee Kolosna Back to HyperScale Main Page Back to Features Page |