Home
| What's New |
Features |
Gallery |
Reviews |
Reference |
Forum |
Search
Home
| What's New |
Features |
Gallery |
Reviews |
Reference |
Forum |
Search
|
|
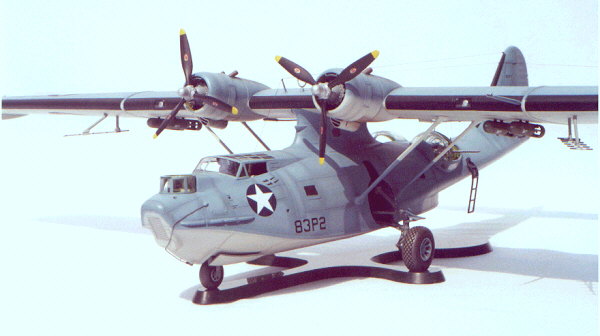
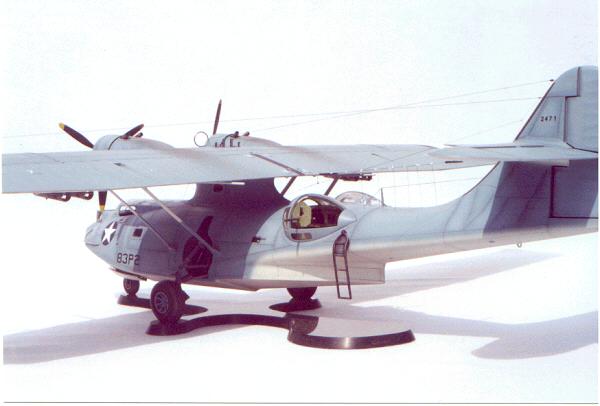
PB4Y-5A Catalina by Larry Goodell
This is Monogram's 1/48 PBY5-A kit built as side number 83-P-2 of VP83, stationed at Natal, Brazil, January 1943. VP83 would later become VPB107 at the end of 1943 and fly PB4Y-1 Liberators as discussed in my earlier article 83-P2 bu.no. 2471 was one of the first thirty-three PBY5-As to roll off the San Diego Consolidated assembly lines. She flew with distinction.
My dad, (AAM 3rd Class - Billie Goodell) while a crew member aboard 83-P-2, sighted a surfaced U-boat at a considerable distance and reported it to the pilot Lt. Jg. Ford. A depth charge run was mounted and with accurate fire from dad's waist 50cal to keep the enemy gunners away from their weapons, the sub was straddled with charges and broken in half. There were three survivors. The sub was U-164, a Type IXC of the 10th Flotilla. P2 is credited with two U-boats and dad received the Distinguished Flying Cross for his action.
Construction Notes The model was built pretty much as it comes in the box as far as the major features were concerned. Minor changes were made at various locations to make the model more accurate in appearance such as:
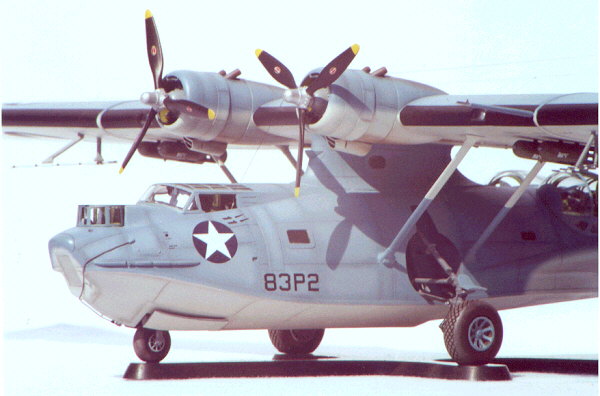
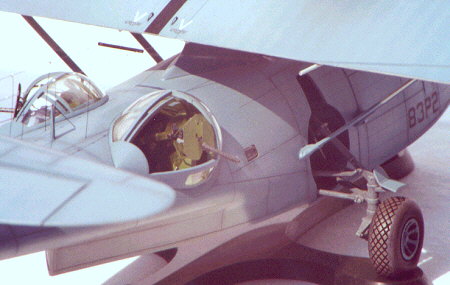
Interior The interior is True Details PBY5 resin set and is further enhanced with Eduard's PBY5 photo etch set and a lot of scratch built items. That totally empty void pit behind the cockpit screamed for detail and just couldn't be ignored, so I completely scratch built every item I saw in the Squadron Walkaround photos, right down to the trailing antenna reel and the sending key on the radioman's table.
All equipment was carved from resin casting sprue and detailed with fine solder and such. If you are planning to build this kit, I highly recommend Eduard's photo etch set which is gorgeous. The cooling jackets for the 50 and 30cals are outstanding. My nose peashooter is stowed in the bow compartment and there is one extra if you care to open up the tunnel hatch. The wiring harnesses for the engines add a great level of depth to the molded cylinder banks and even have the oil cooler screens to accent your power plants.
Landing Gear Kit directions tell you to assemble the gear struts and cement them in their housings at the beginning of construction, but I feared this would hinder detailing later and possibly render the fragile structure to damage during handling throughout building this rather large airplane. I assembled and detailed the strut components adding fine solder for brake lines, leaving the ends of the lines long where they enter the gear bay. The gear bays were predrilled to accept the lines at a later time. I used True Details beautiful diamond tread tires and wheels to finish off the landing gear.
Final Details
I used Flat Black self adhesive vinyl for the wing de-icer boots. The texture and sheen of this material replicates this item far more realistically than paint. The material is used in the making of vinyl stick on letters and such. Just remember to apply it to your model after clear coating, as you want to leave to look as it is in it's natural state. I used it also for the landing light frames over my clear lenses to hold them down.
After assembly was complete, the model was primed and painted with Model Master enamels. Primary colors are Light Gray FS 36492 under surfaces and US Navy Blue Gray. Model was shaded with lightened coats of the blue gray and med gray pastels along the panel lines. A lighter shade of gray pastel was used for the undersides. Raw umber washes were used in areas where oil stains and exhausts would accumulate.
Click the thumbnail to view the
image full size.
Model, Text and Images Copyright © 2000 by Larry
Goodell
|
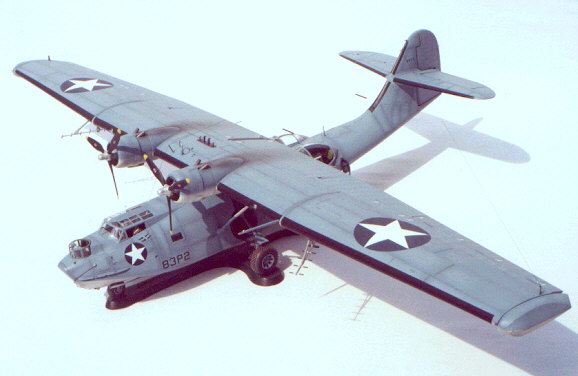
 The
interior parts for the waist positions are beautifully detailed right out
of the box.
The
interior parts for the waist positions are beautifully detailed right out
of the box.
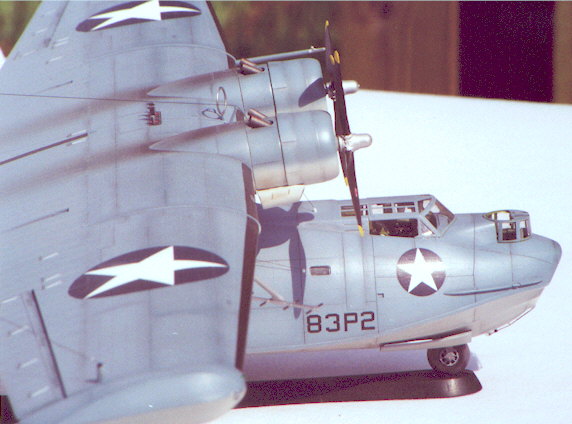
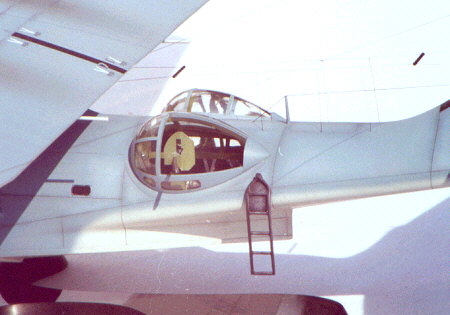 The
boarding ladder was carved from a single piece of plastic sheet with the
skin protection barrier added using .003 brass shim stock. This is handy
stuff, it's called "Shim in a Can" and can be purchased at a
machine shop supply co. Antennas are fabricated from invisible thread and
stretched sprue with lead ins being a tiny piece of the vinyl insulation
from elec. wire. The parallel array that traverses from under the
tailplane to under the trailing edge of the main wing was quite a
challenge and required much thought and patience, of which none was left
after completion.
The
boarding ladder was carved from a single piece of plastic sheet with the
skin protection barrier added using .003 brass shim stock. This is handy
stuff, it's called "Shim in a Can" and can be purchased at a
machine shop supply co. Antennas are fabricated from invisible thread and
stretched sprue with lead ins being a tiny piece of the vinyl insulation
from elec. wire. The parallel array that traverses from under the
tailplane to under the trailing edge of the main wing was quite a
challenge and required much thought and patience, of which none was left
after completion.